
UDK Physics Platforms
By Nick Urko, C15 Level Designer
UDK Version June 2011
Created on 12/5/2011
This article will show you how to create example physics objects for use in a side-scrolling platformer. You can see these objects and more in action in my project Arbor.
Making a Seesaw
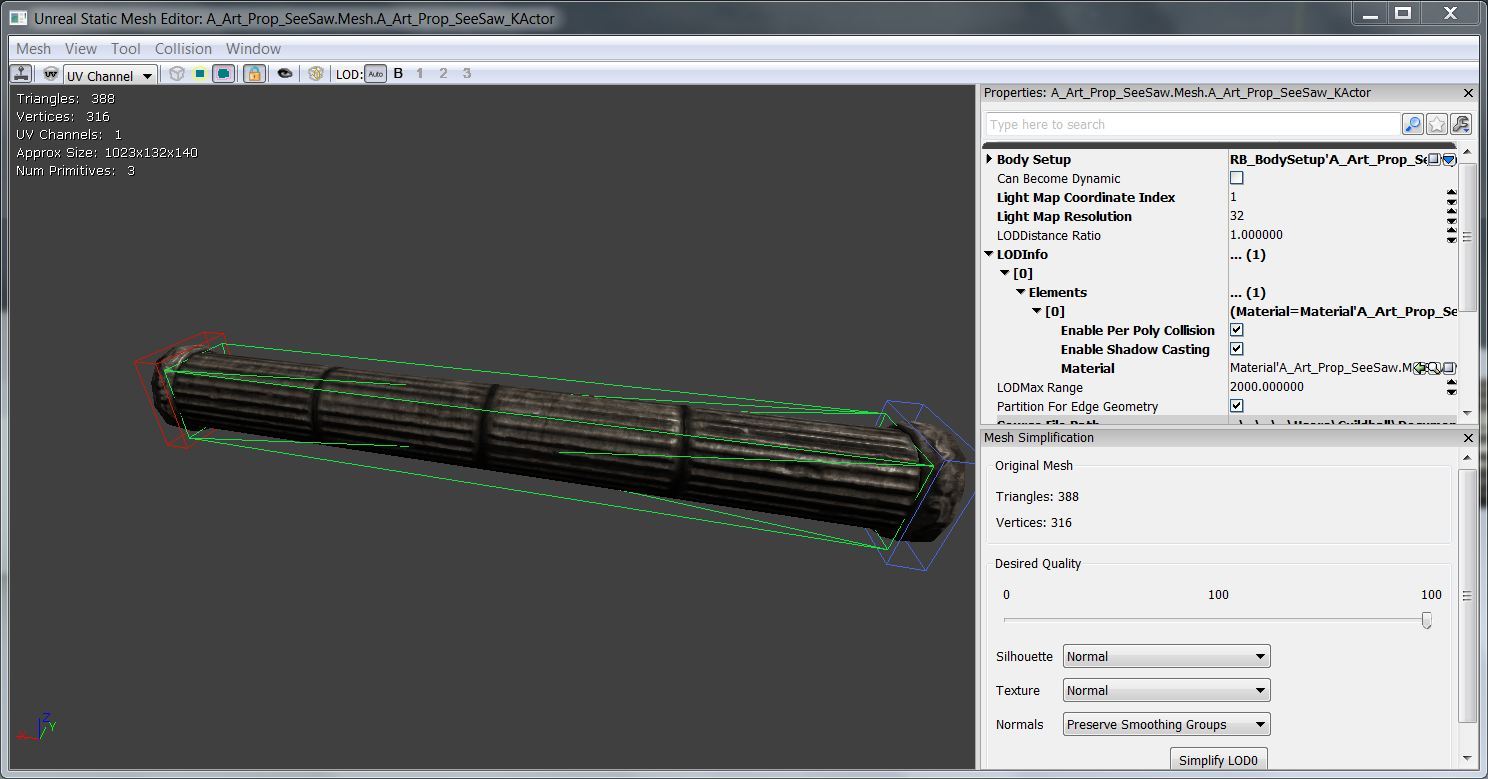
- Find a mesh that you want to make into a seesaw.
- Make sure it has an appropriate collision model.
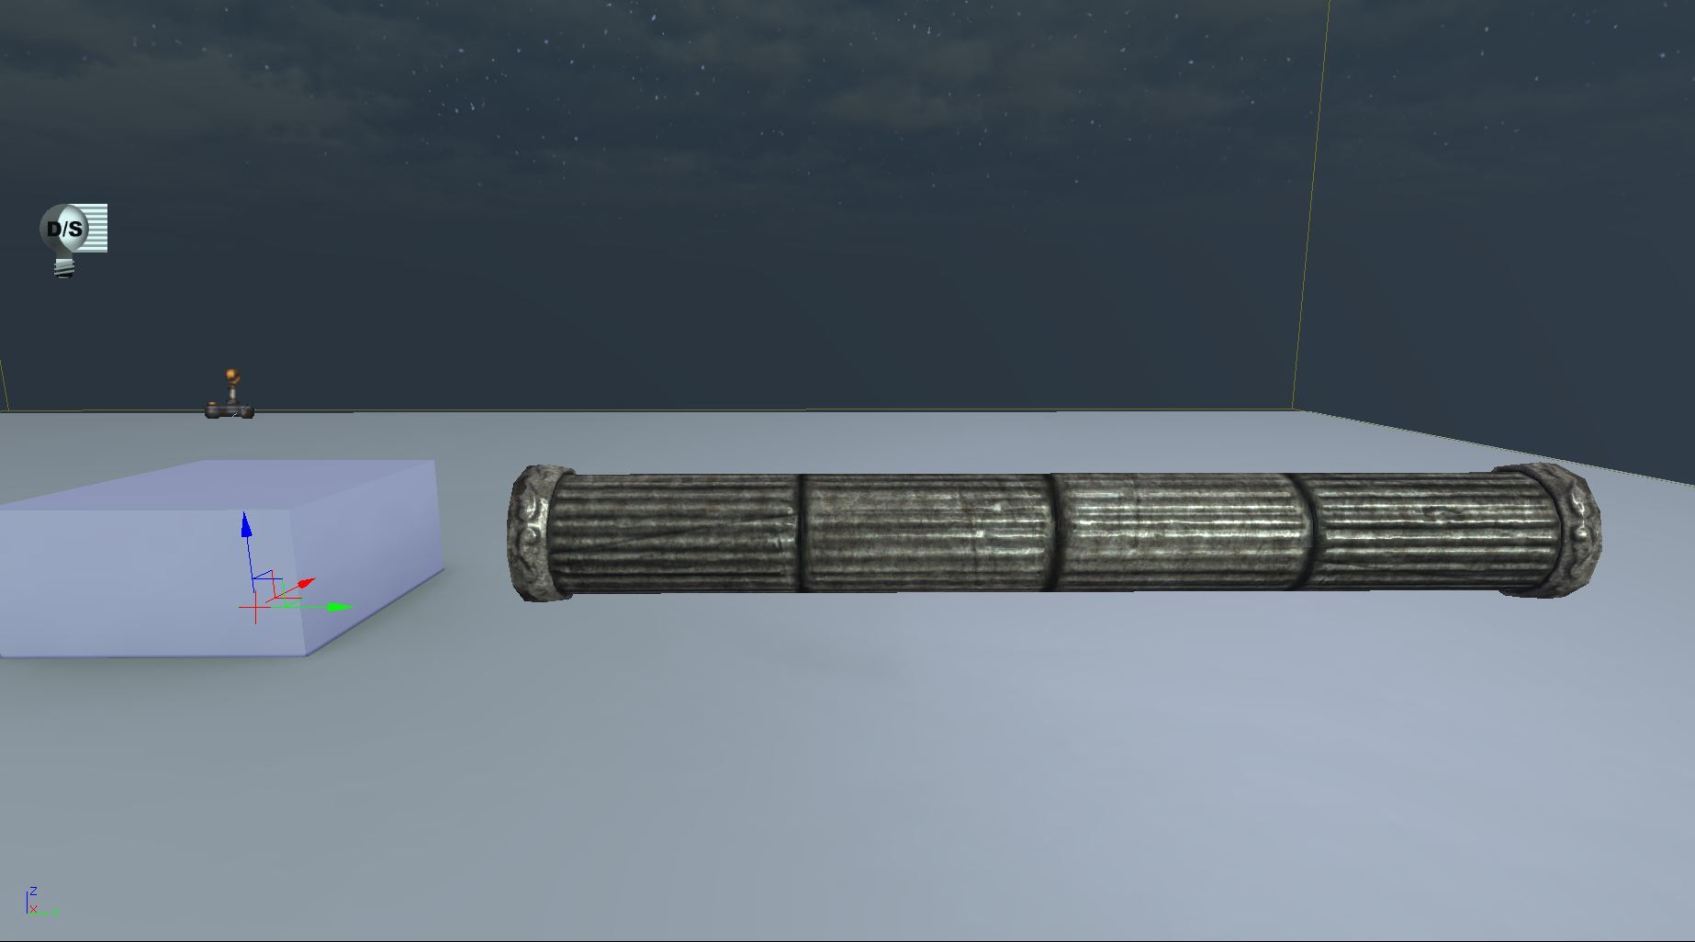
- Place it into the world as a KActor.

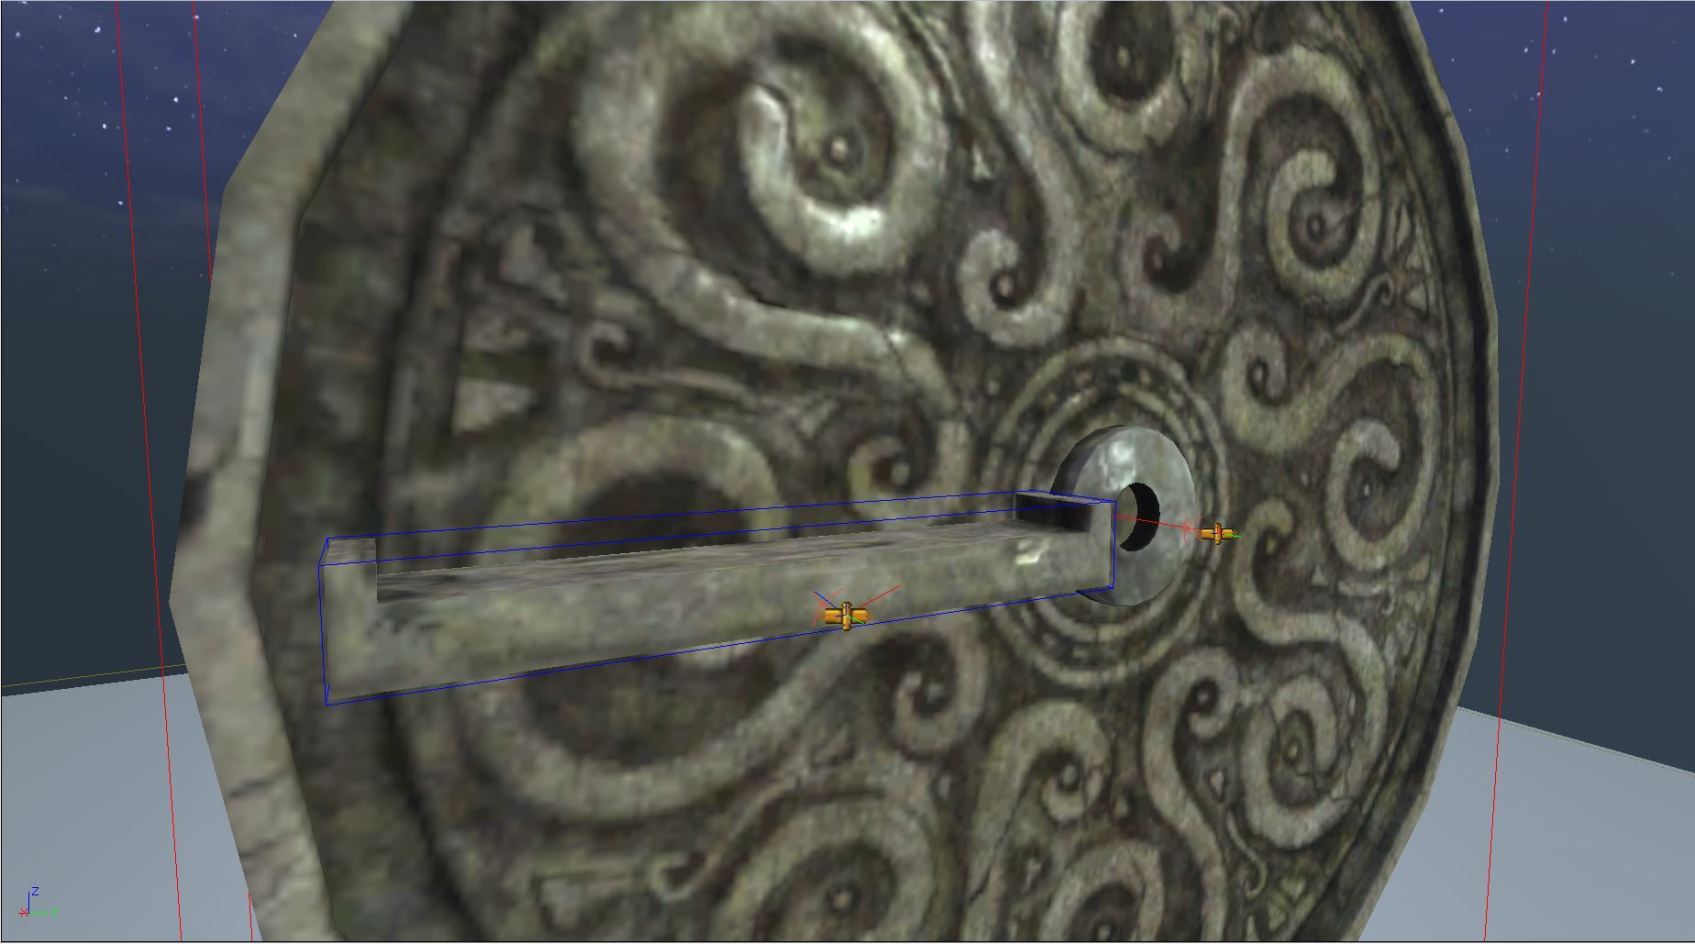
- Go to the content browser and add an RB_HingeActor to your level.
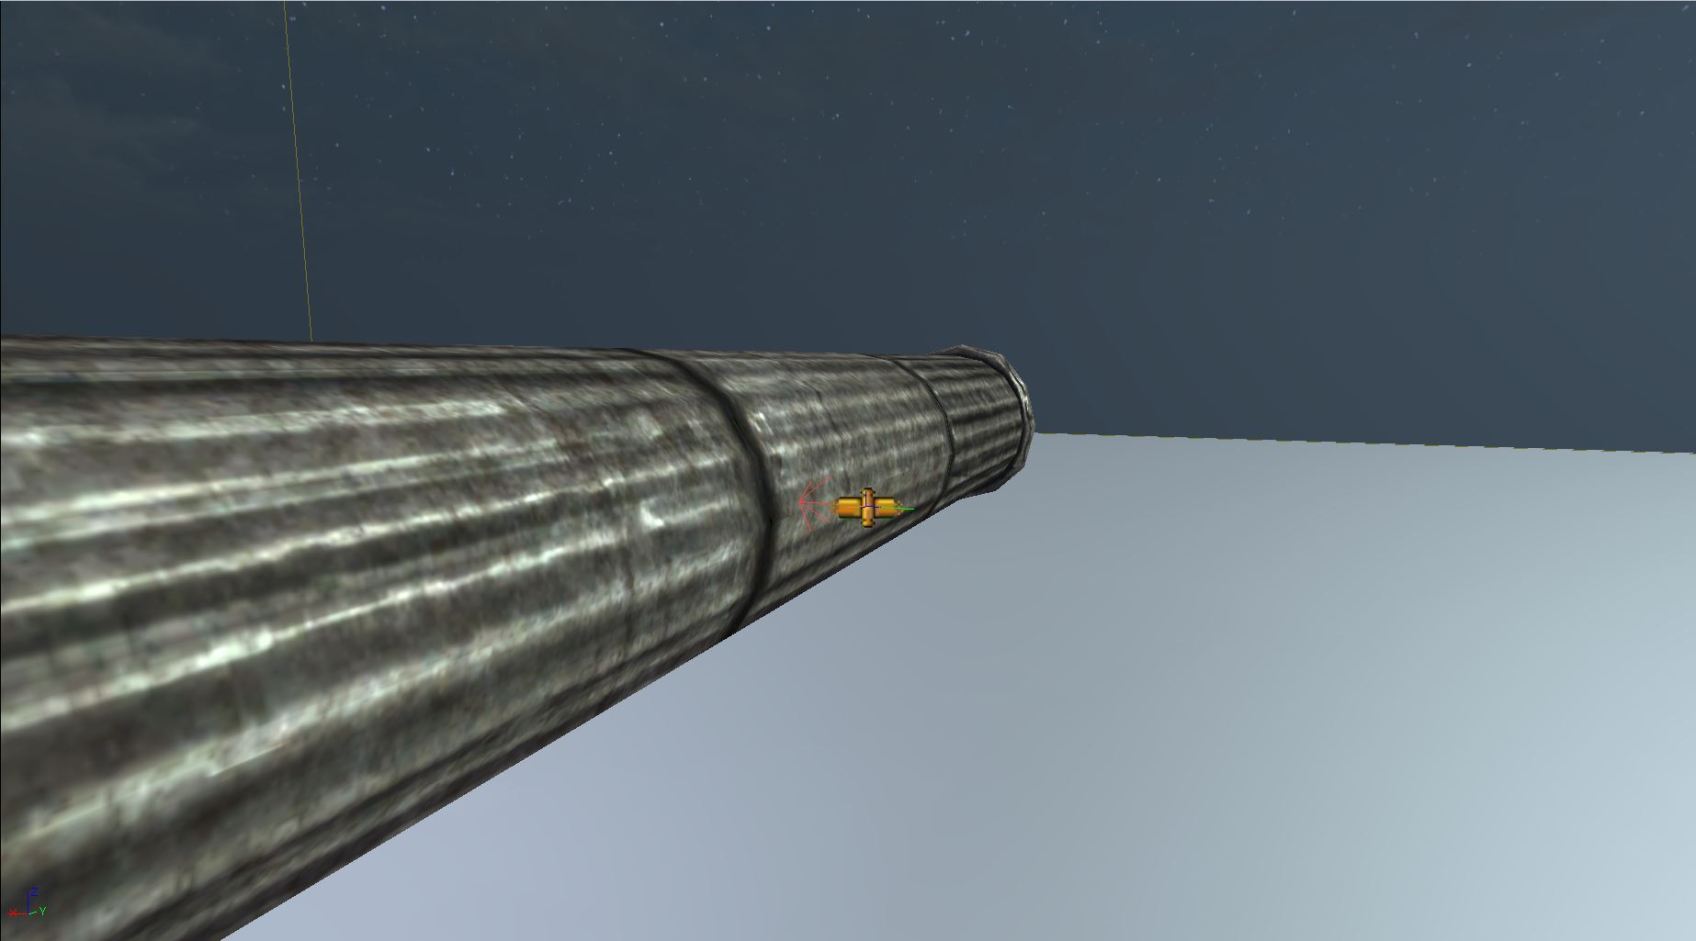
- Place it where you want the pivot point for the seesaw to be.
- Make sure that the arrow is perpendicular to the seesaw.
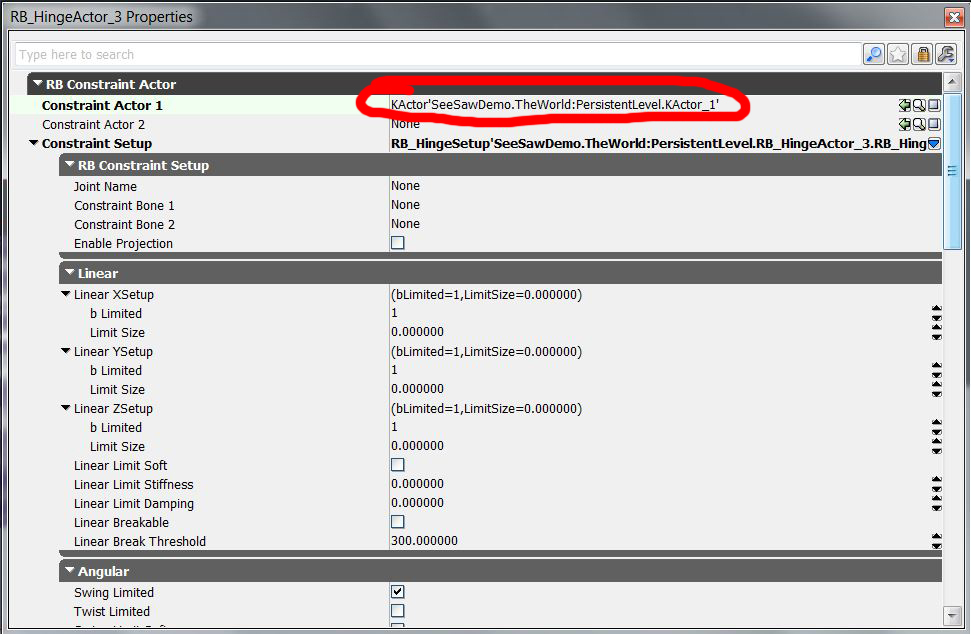
- Go into the RB_HingeActor's properties, and assign the seesaw mesh to "Constraint Actor 1."
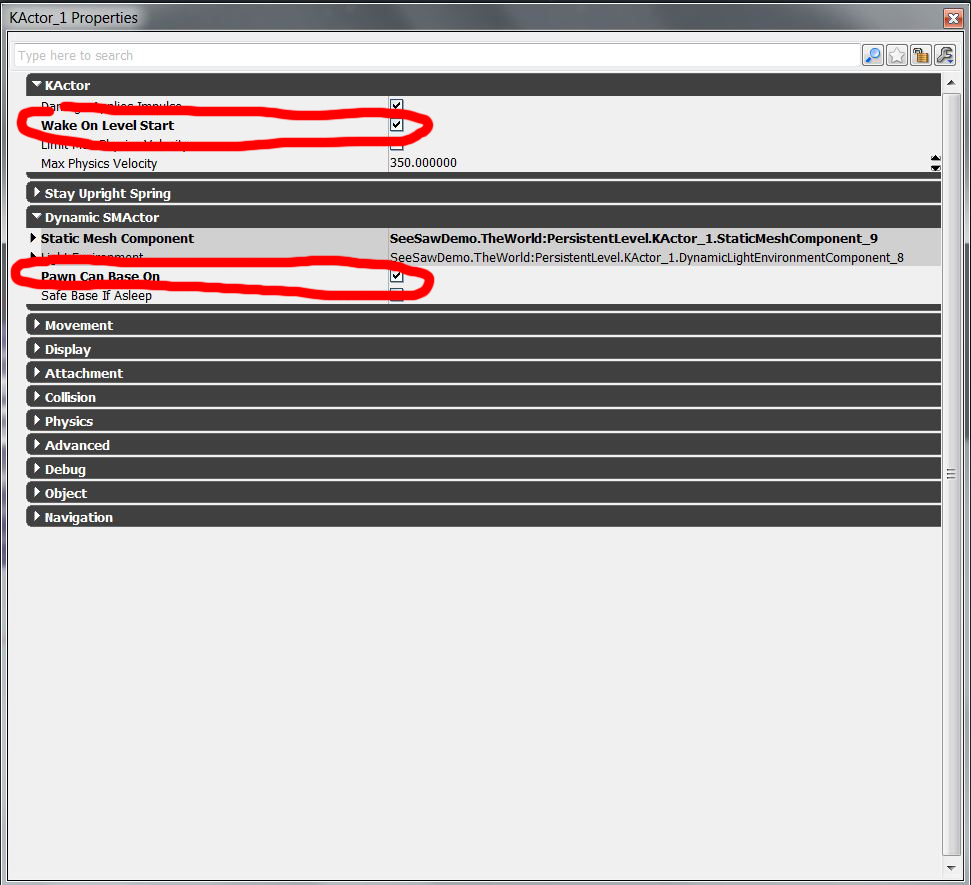
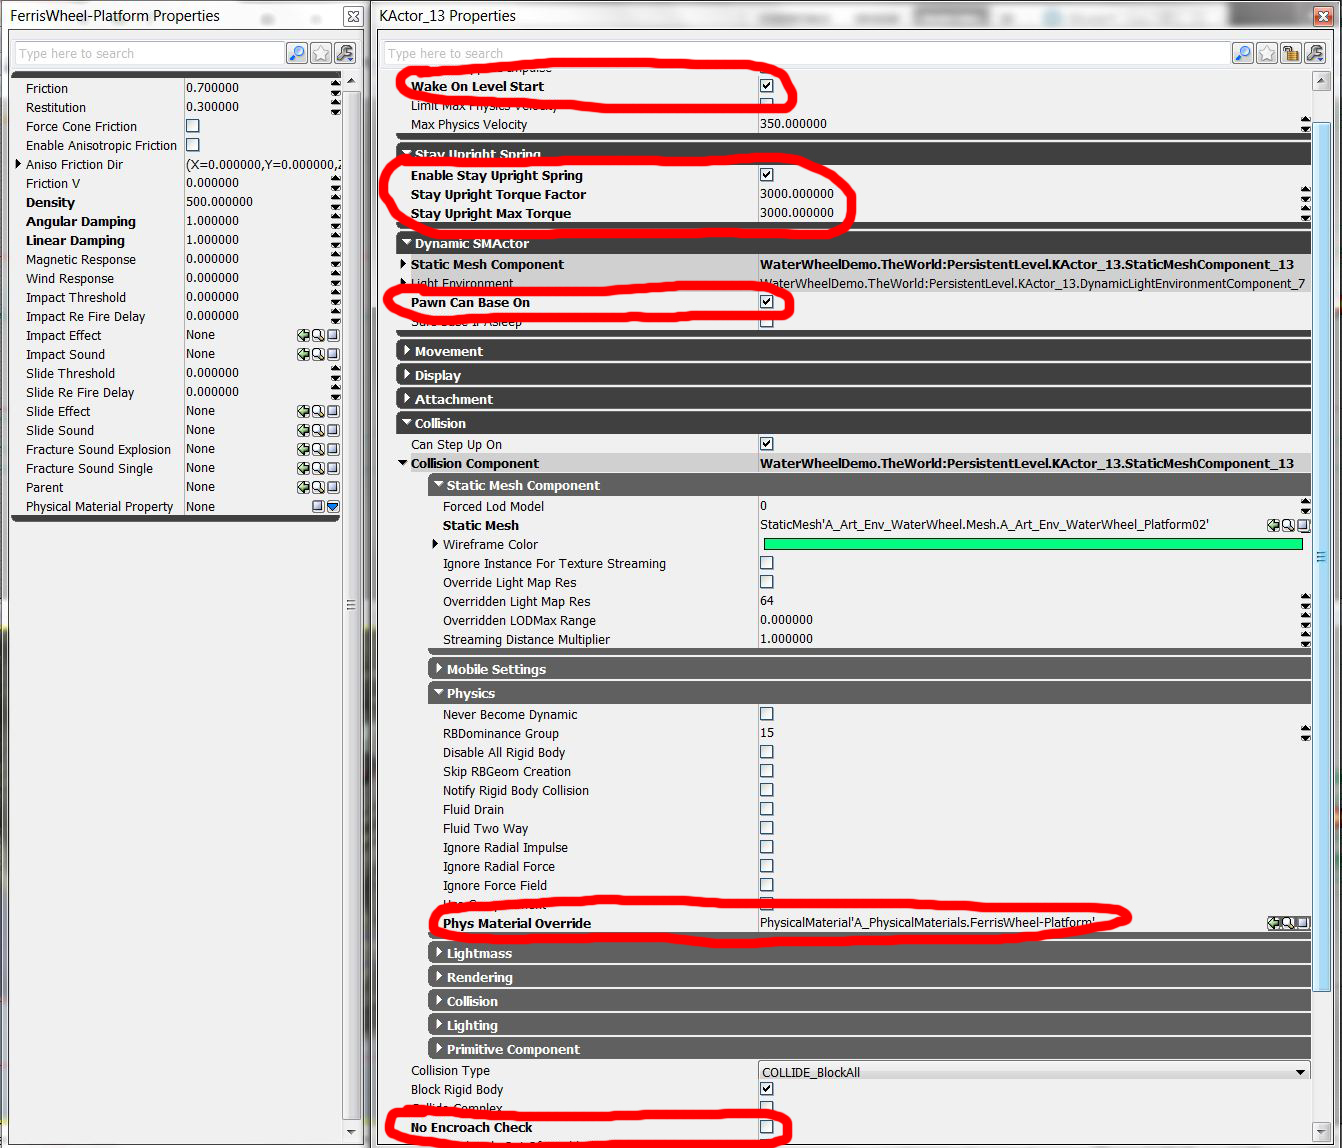
- Check "Wake on Level Start" to make the seesaw active when the level launches.
- Check "Pawn Can Base On" to allow your pawn to walk on the object.
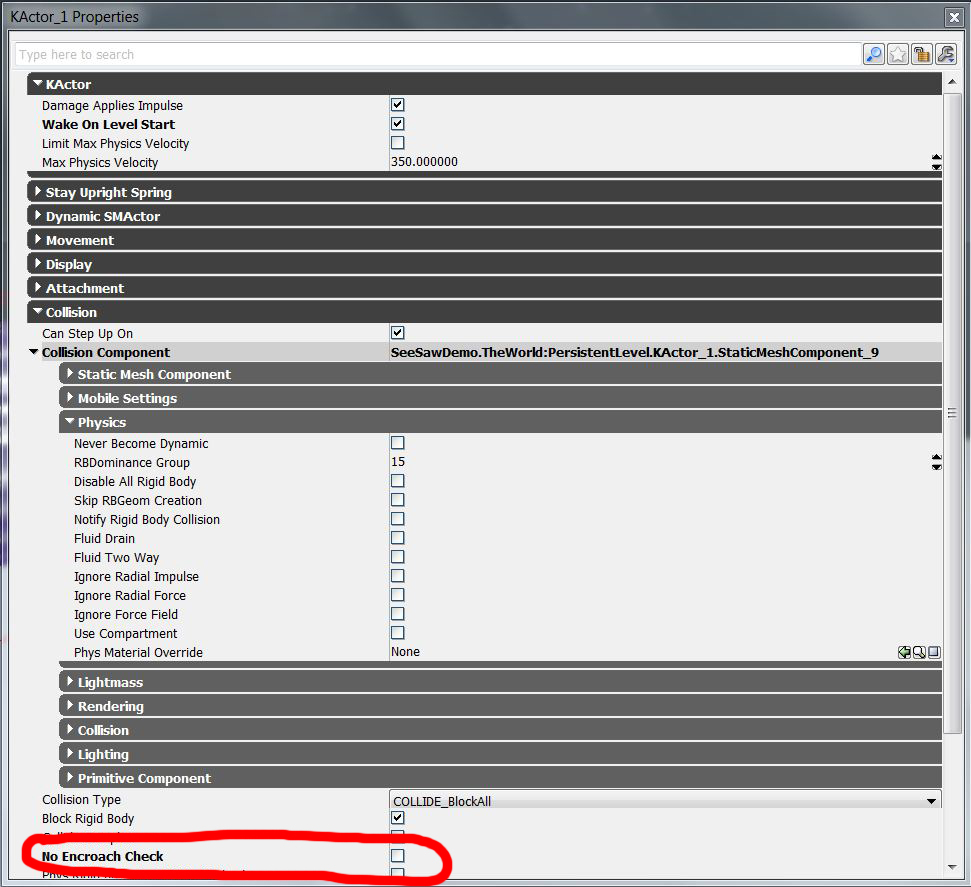
- If you find that your character is falling through the seesaw, turn off "No Encroach Check".
- This mostly happens if the KActor is moving really fast.
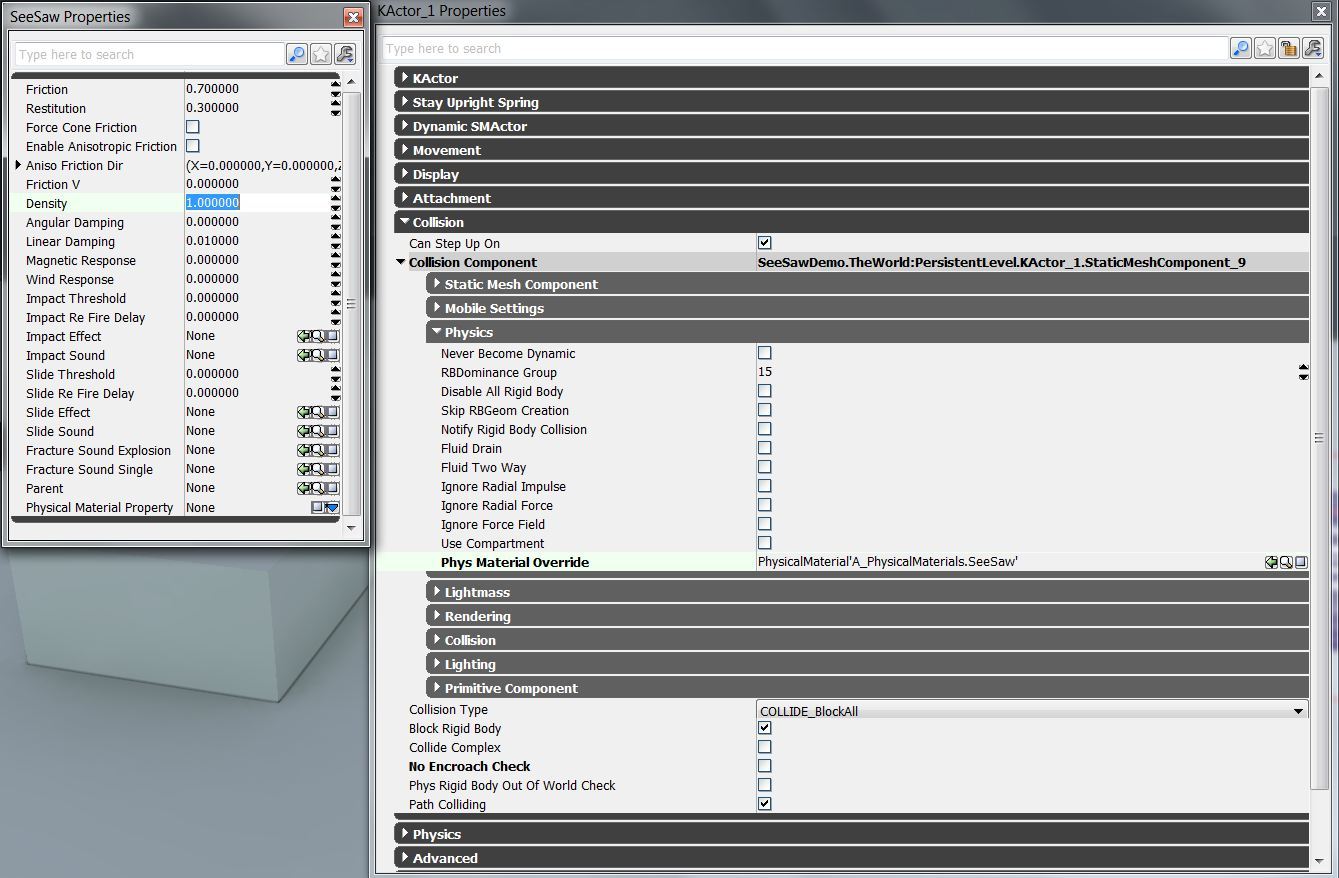
- You may want to create a custom Physics Material so you can control how it moves.
- Increase the density to make the object feel heavier, or decrease the density to make it feel lighter.
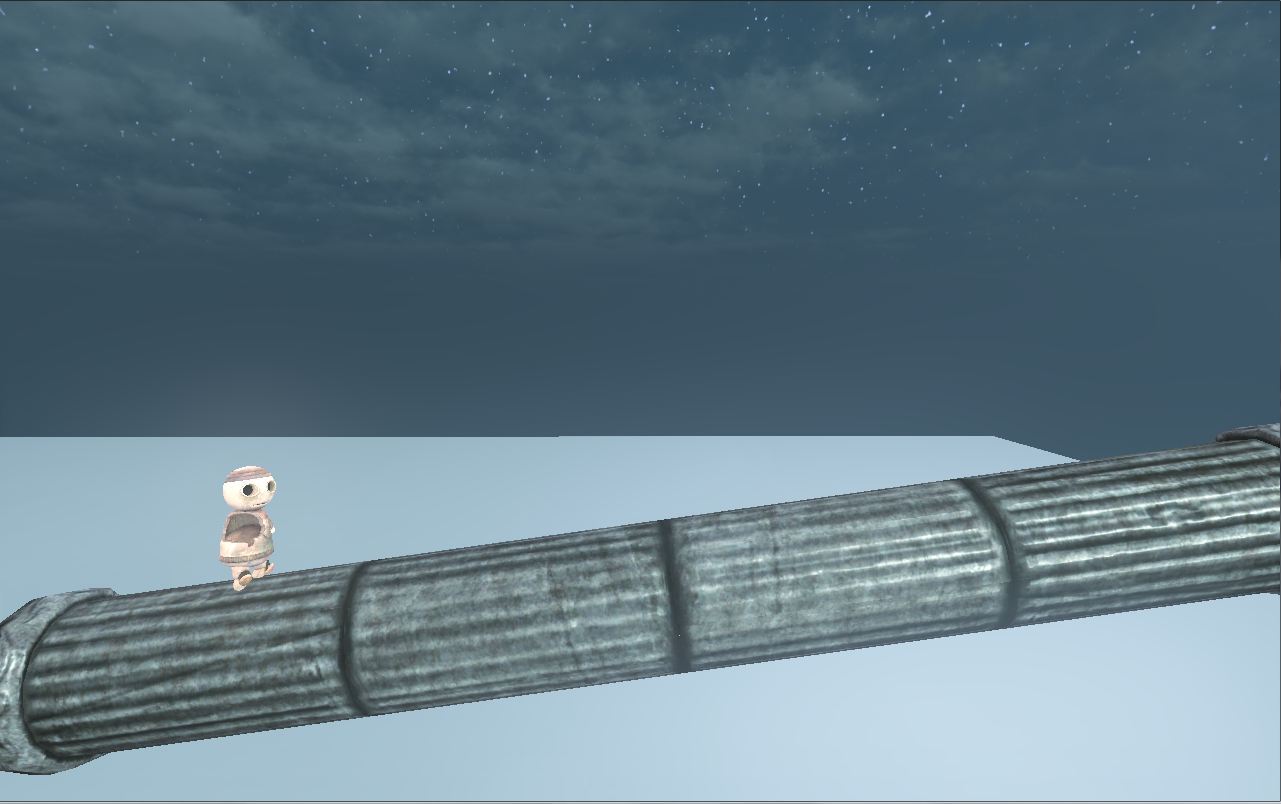
- Rebuild the level and you have a working seesaw!
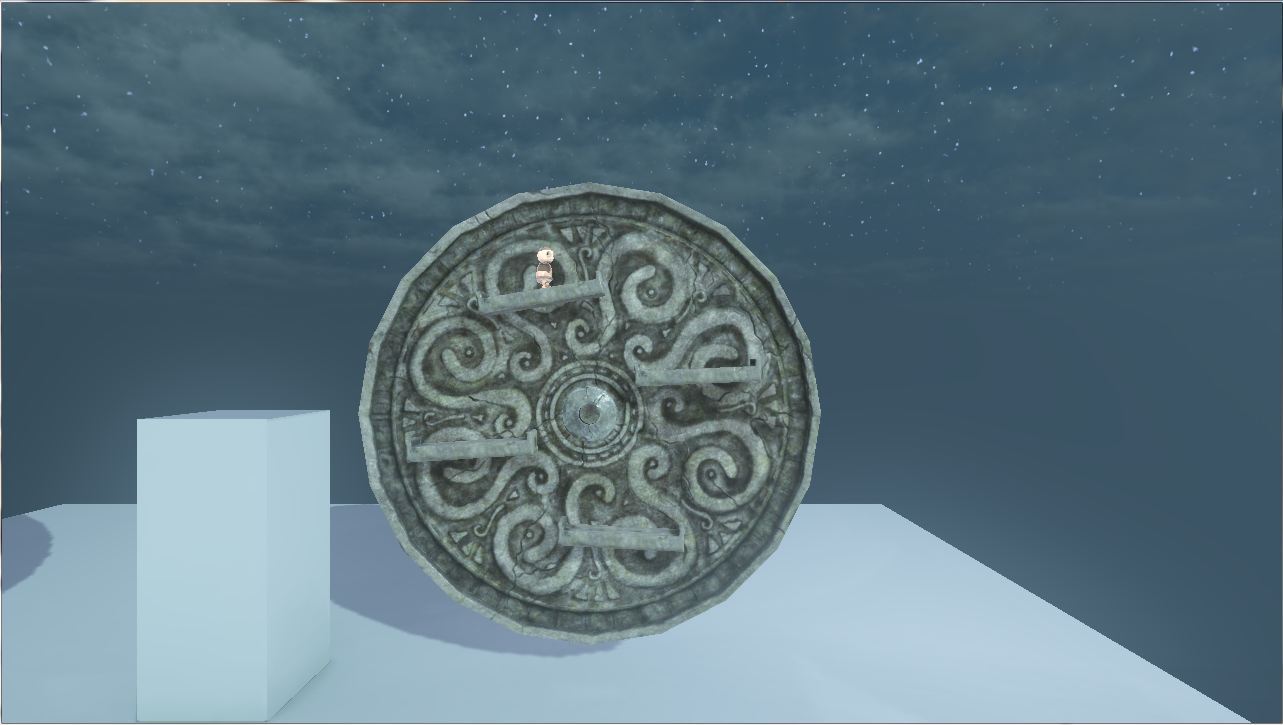
Making a Waterwheel
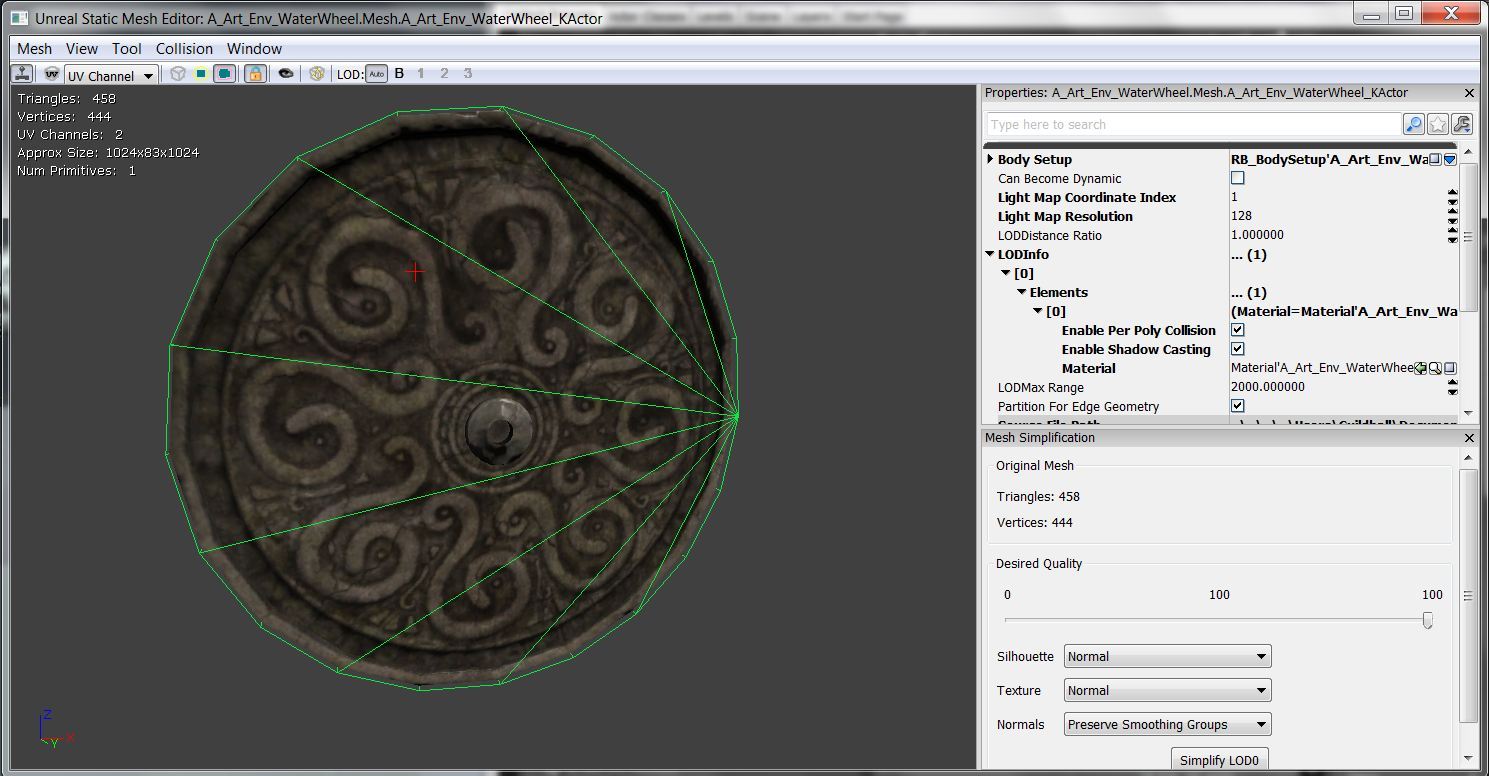
- Find a mesh for the waterwheel.
- Make sure it has an appropriate collision model.
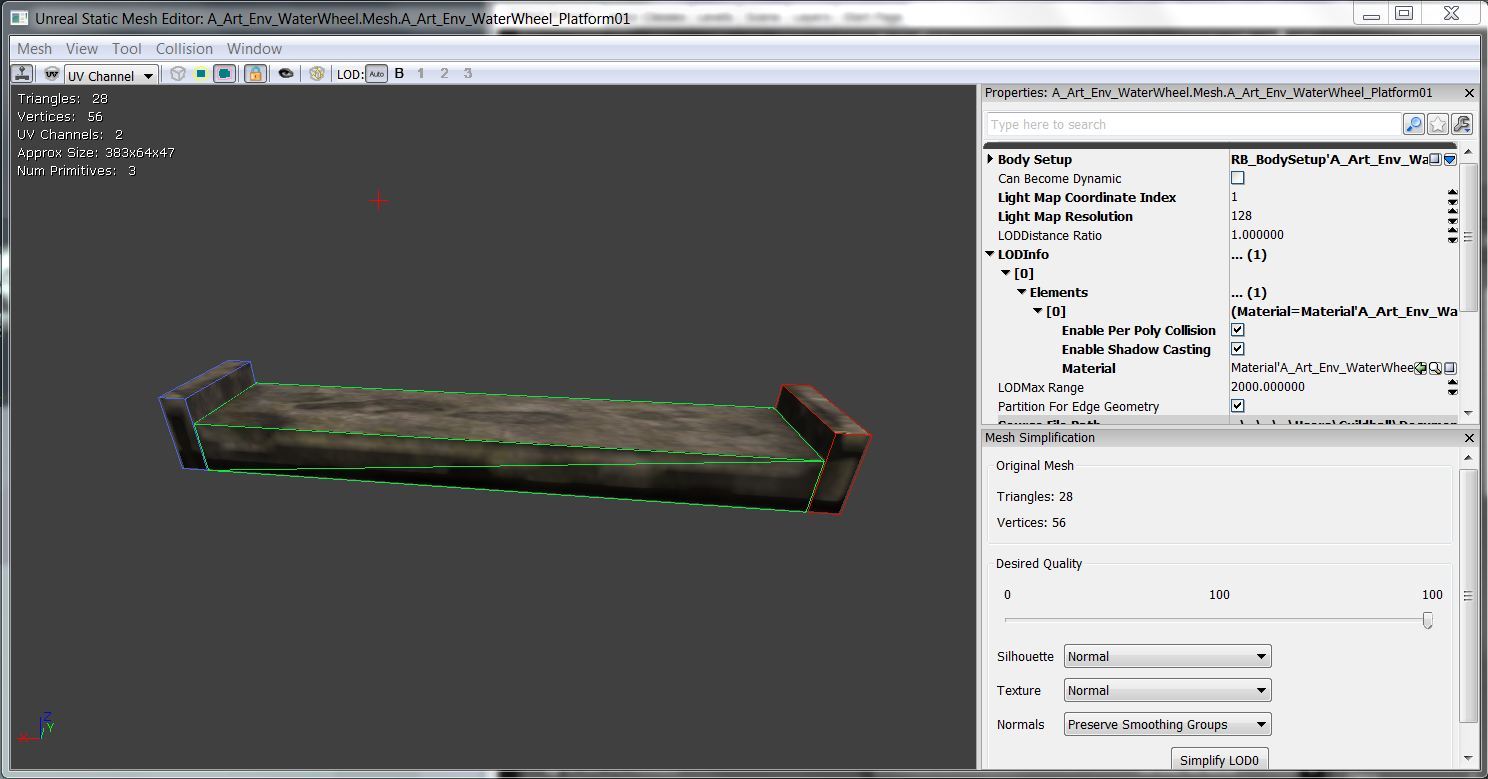
- Find a mesh for the waterwheel platforms.
- Make sure it has an appropriate collision model.
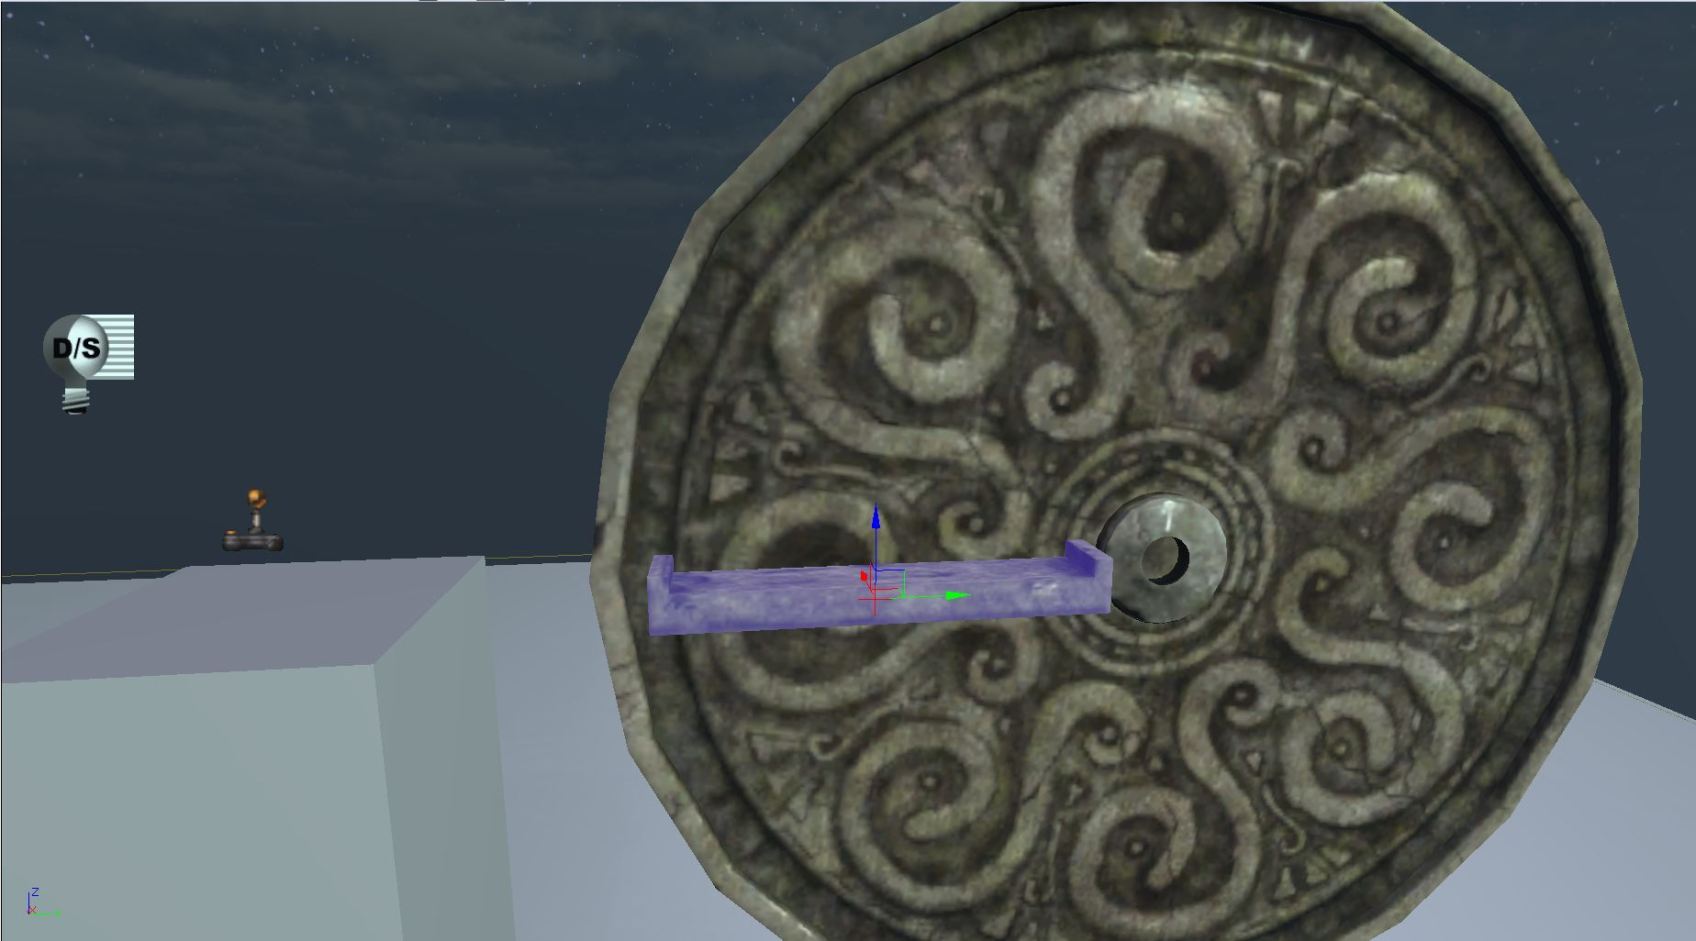
- Place the meshes in your level as KActors.
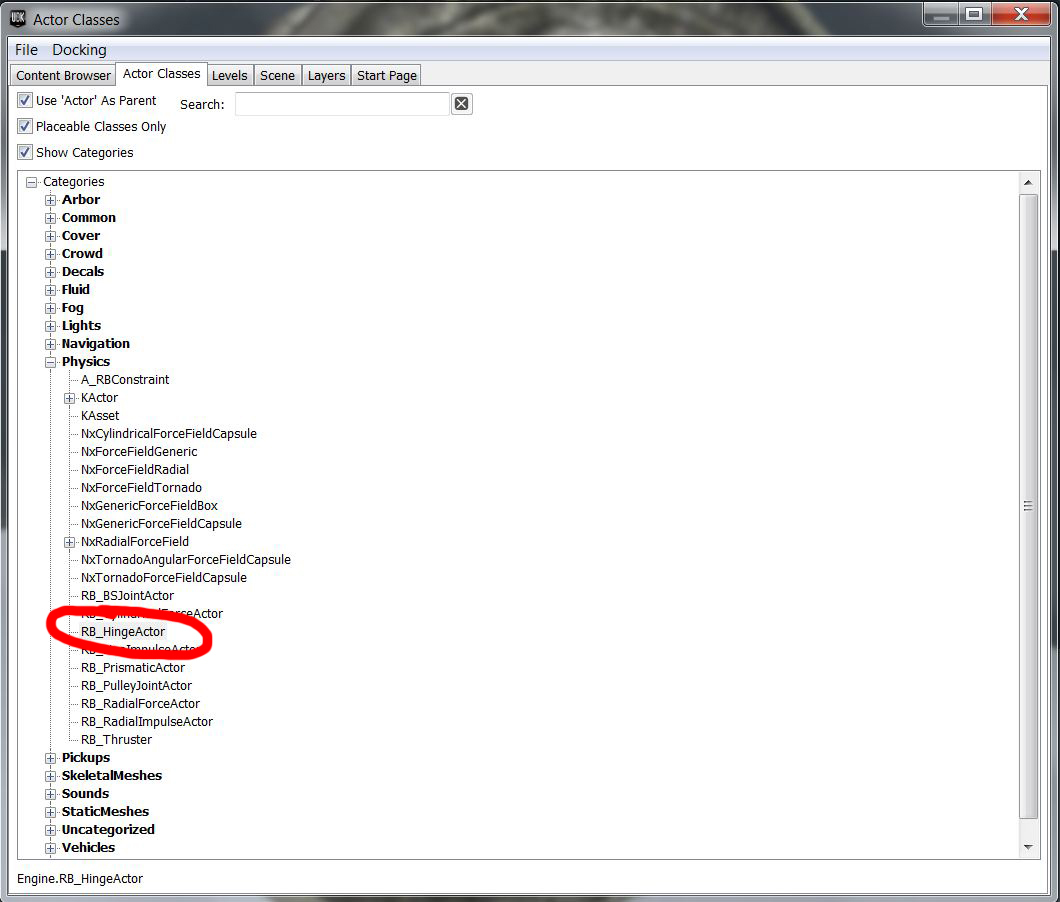
- Place two RB_HingeActors into the level.
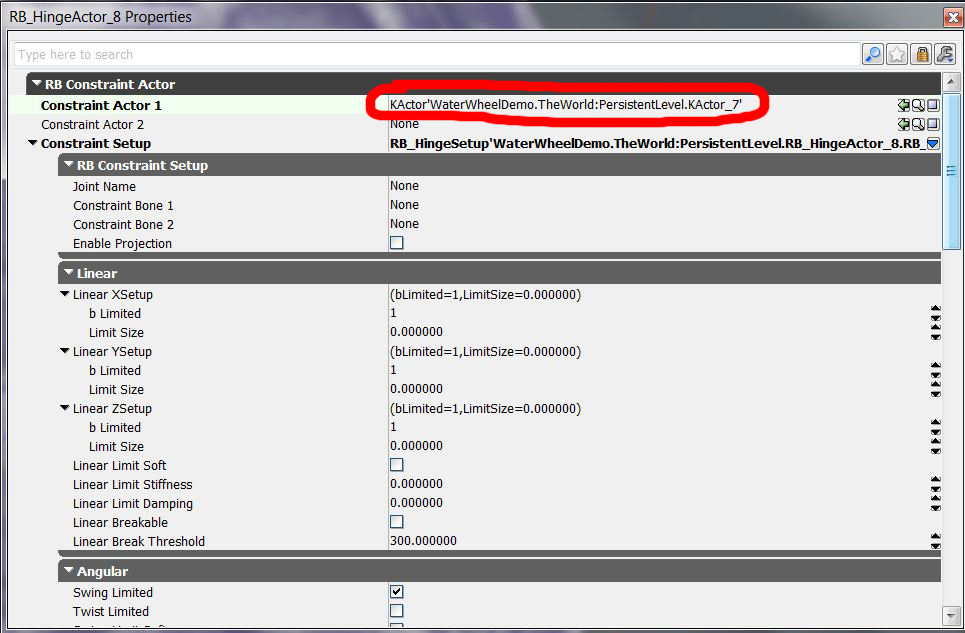
- Go into the central RB_HingeActor's properties, and assign the waterwheel mesh to "Constraint Actor 1".
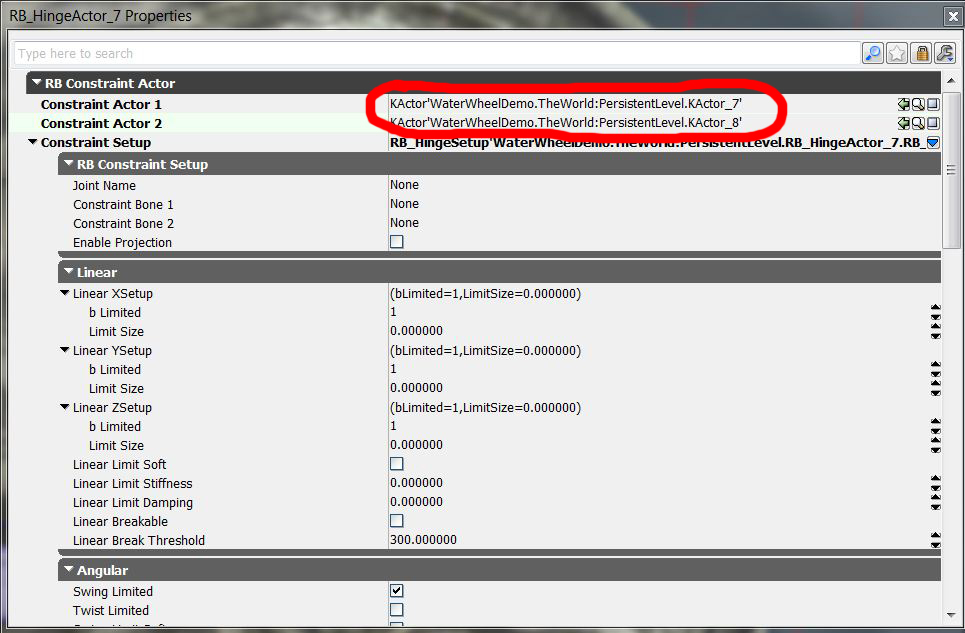
- Go into the platform's RB_HingeActor's properties, and assign the waterwheel mesh to "Constraint Actor 1", and the platform mesh to "Constraint Actor 2".
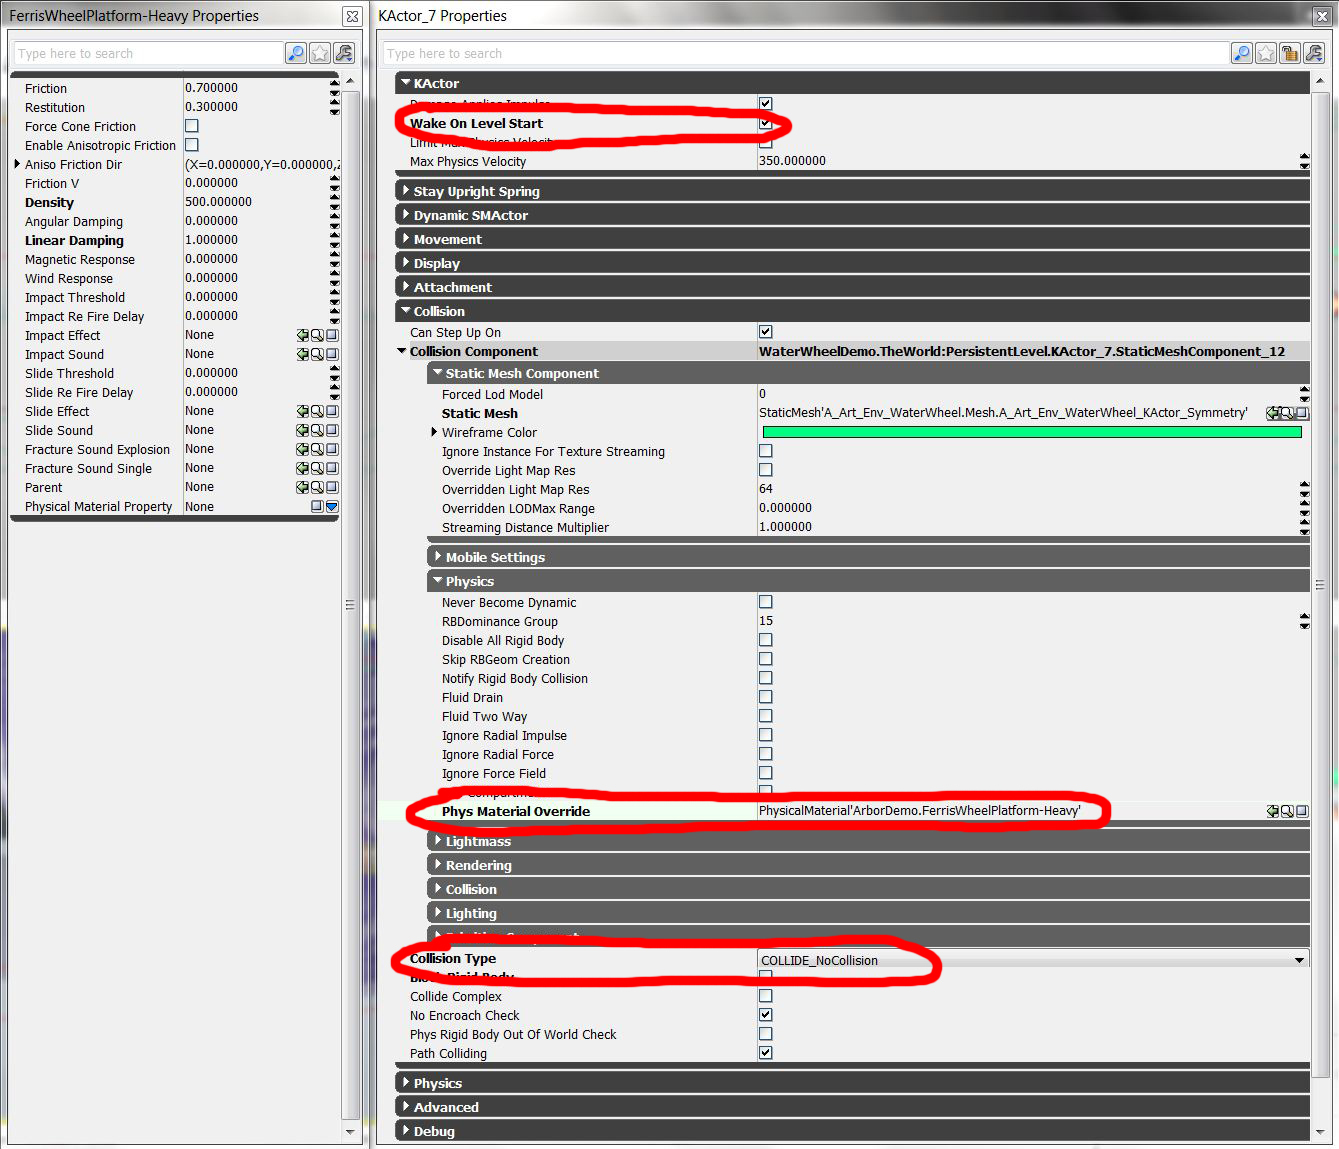
- Go into the properties for the waterwheel.
- Check off "Wake on level start".
- Change the collision to "No Collision". The player won't be colliding with this item, and disabling the collision prevents weird behavior between the waterwheel and platform collision.
- You may want to create a custom Physics Material so you can control how it moves.
- Increase the density to make the object feel heavier, or decrease the density to make it feel lighter.
- Go into the properties for the waterwheel platform.
- Check off "Wake on level start".
- Check off "Enable Stay Upright Spring." This will make the platform stay oriented as the waterwheel rotates.
- Change the Torque properties to appropriate numbers.
- Check off "Pawn can base on." This will let the player stand on it.
- You may want to create a custom Physics Material so you can control how it moves.
- If you find that your character is falling through the platforms, turn off "No Encroach Check".
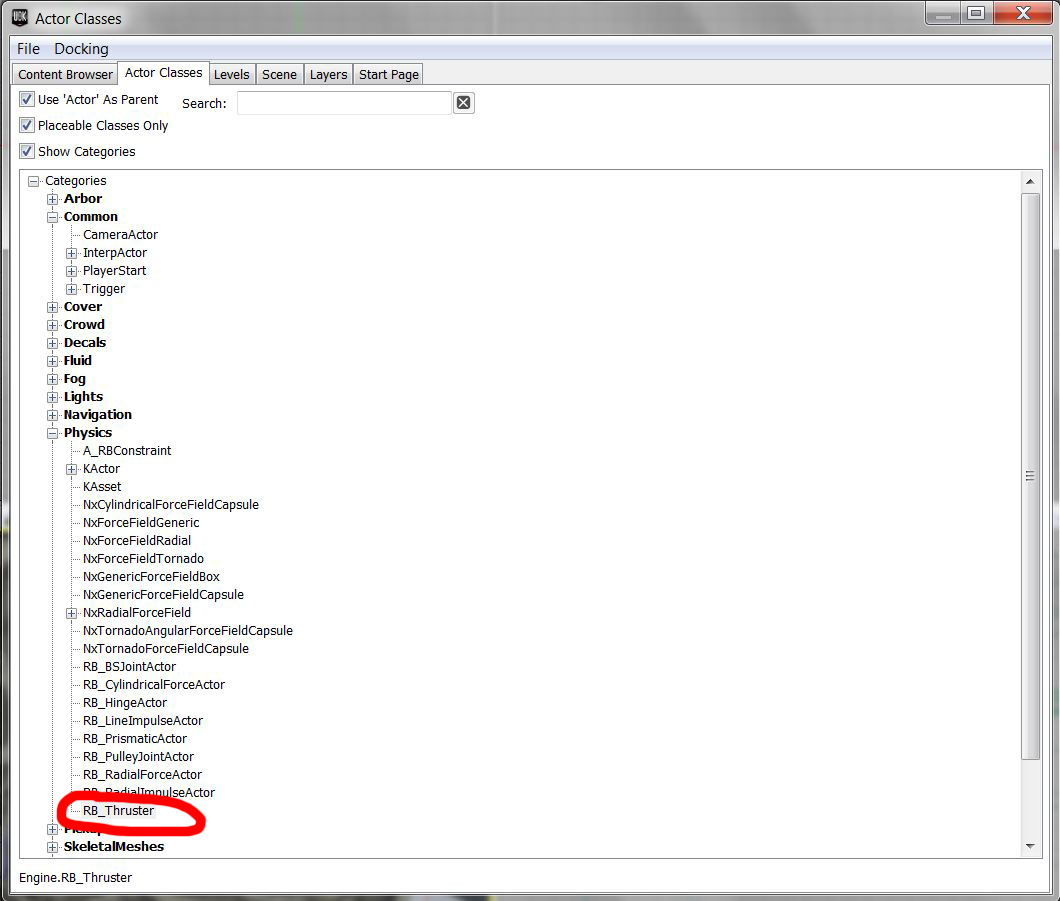
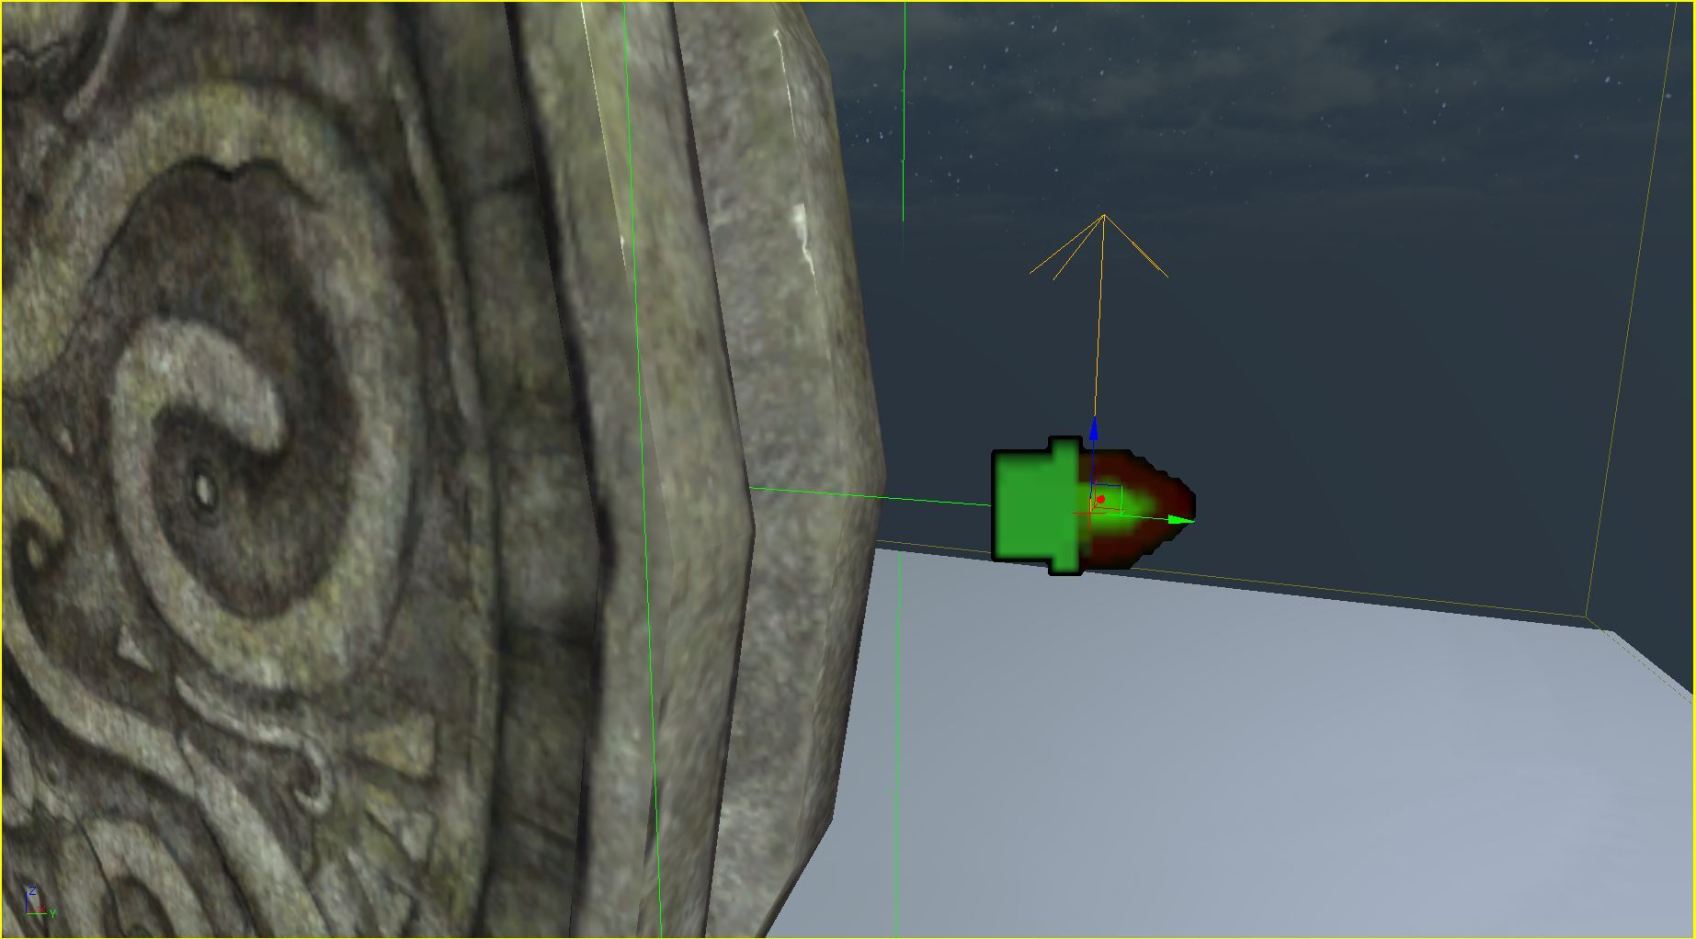
- Add an RB_Thruster to the level.
- Rotate it so the arrow is pointing in the direction you want it to rotate.
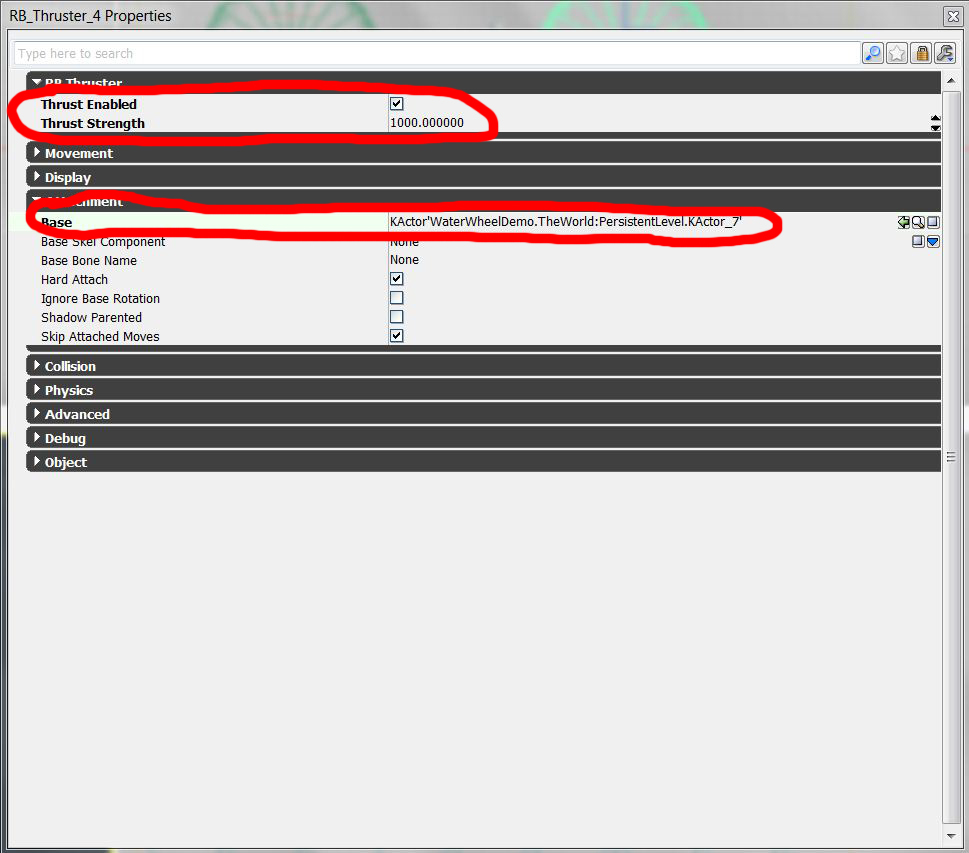
- Go into the RB_Thruster properties.
- Check off "Thrust Enabled" and fill in an appropriate value for "Thrust Strength".
- Attach the thruster to the waterwheel mesh.
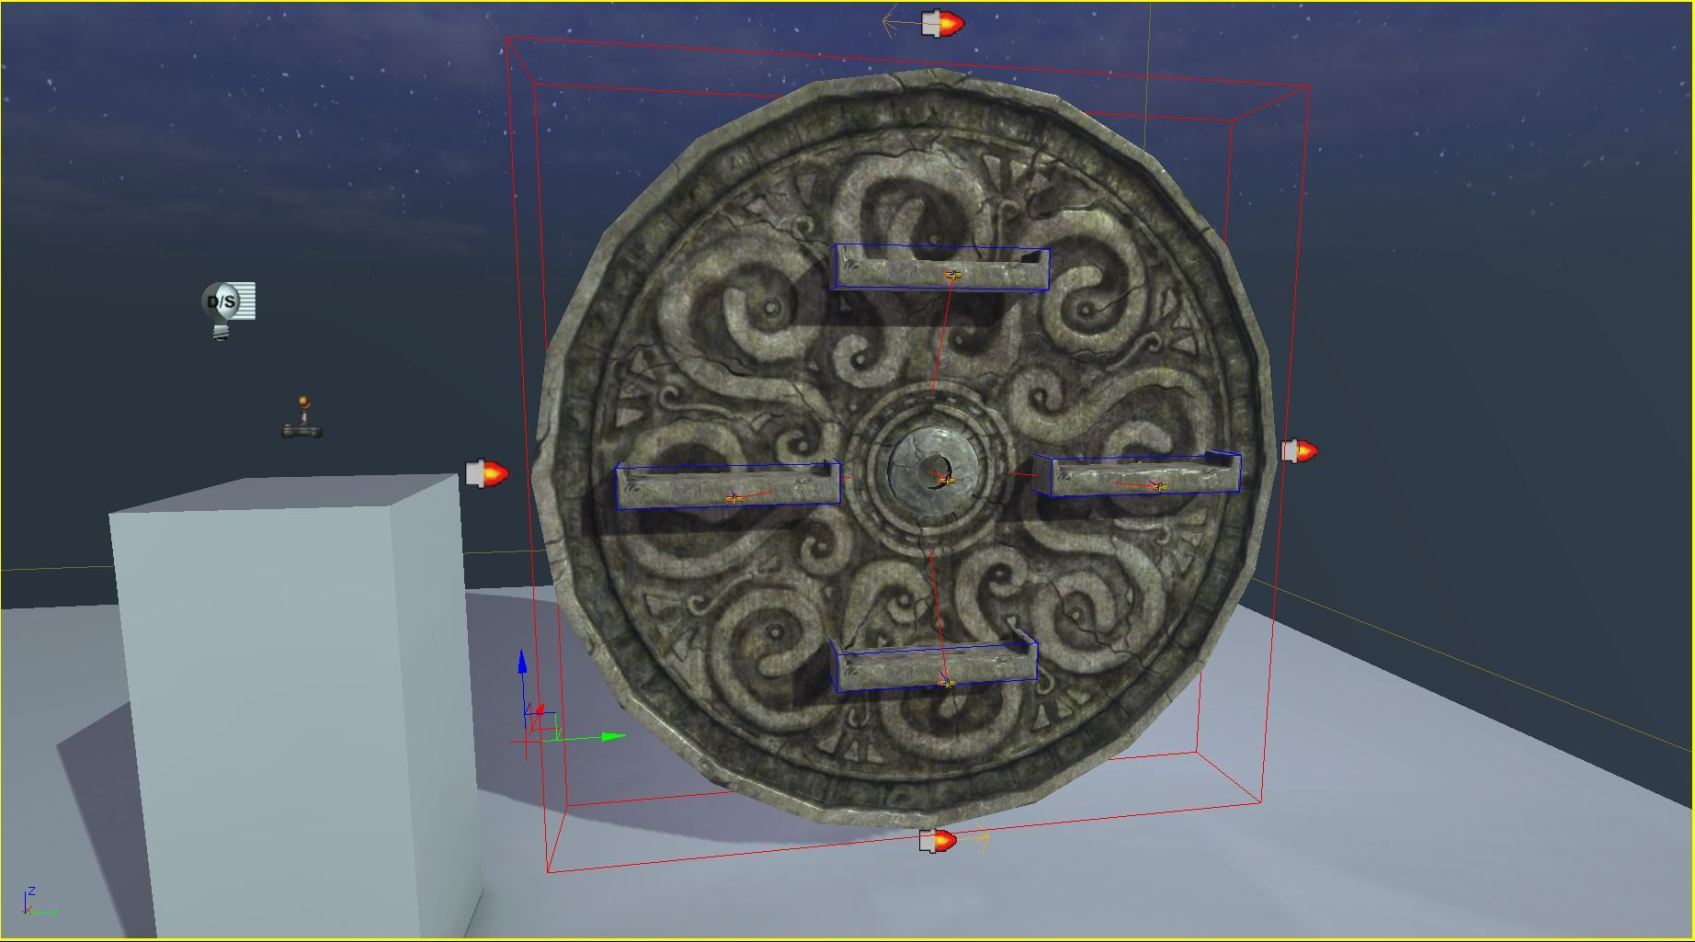
- Copy the different components and position them to make up the rest of the waterwheel.
- Rebuild all and play.
Making a Collapsing Pillar Section
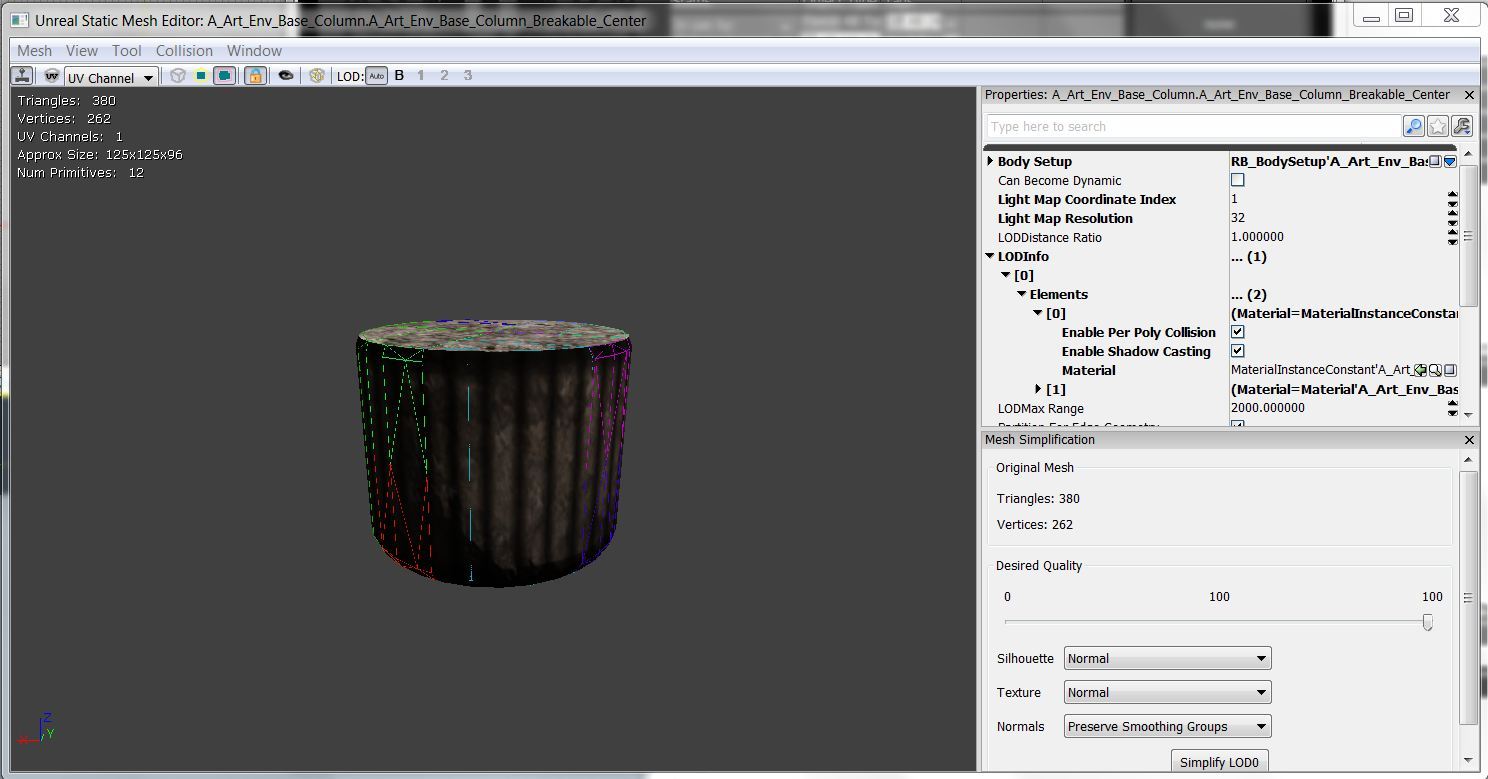
- Find a mesh that you want to use for your pillars.
- Make sure it has an appropriate collision model.
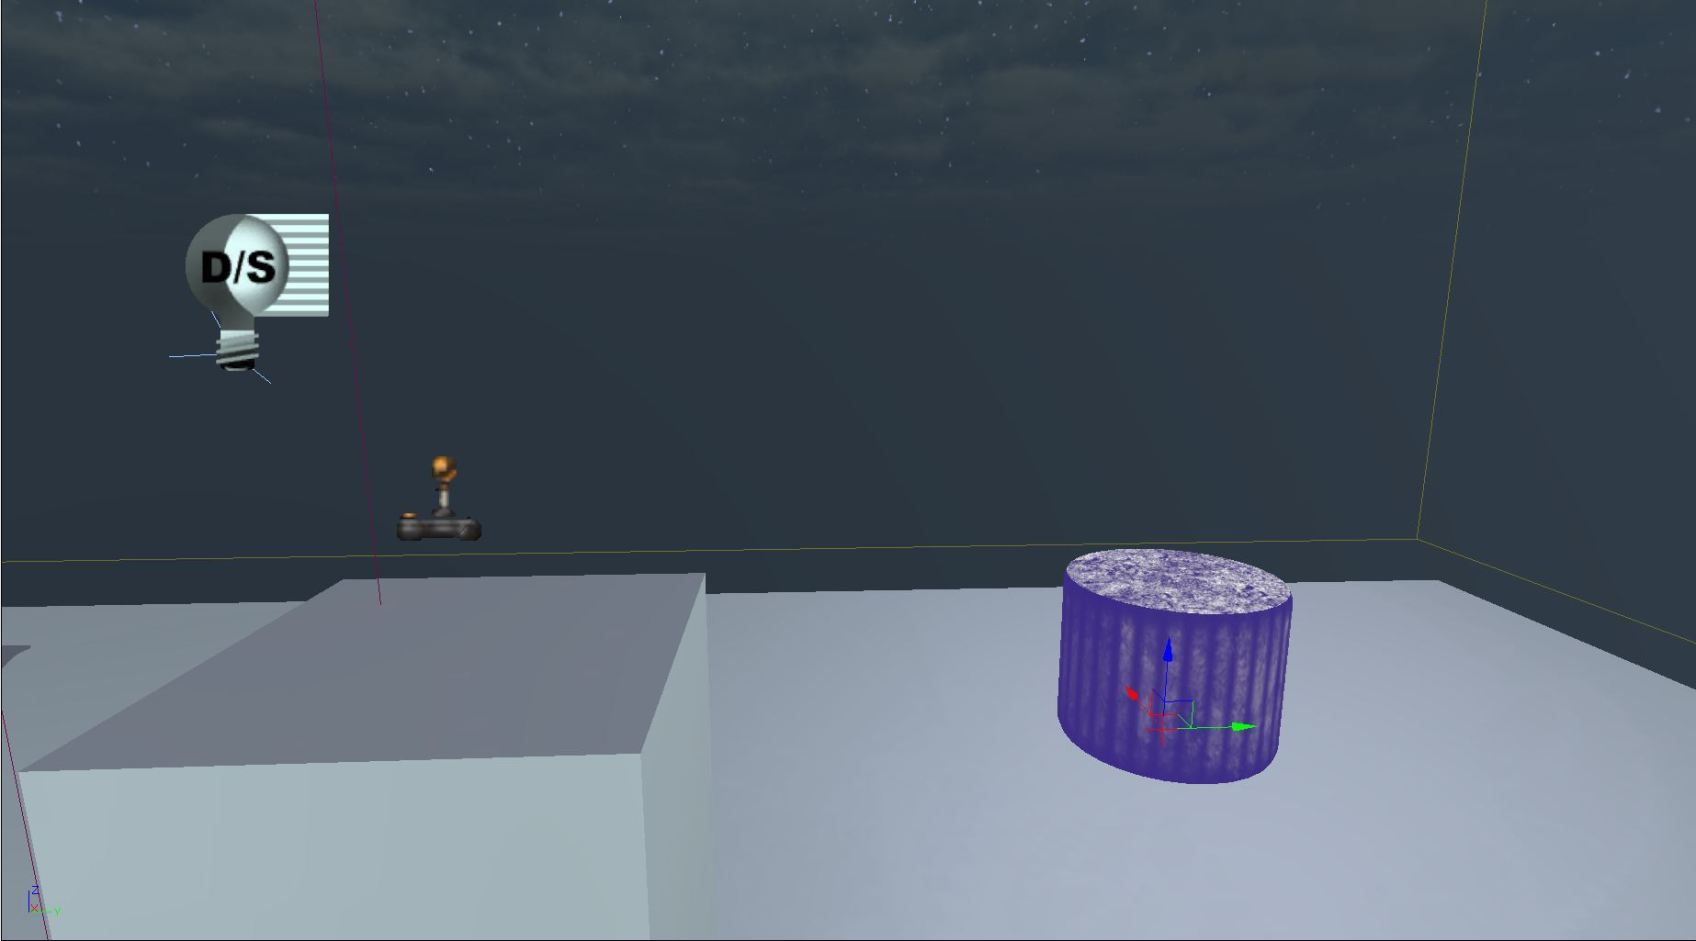
- Place it into the world as a KActor.
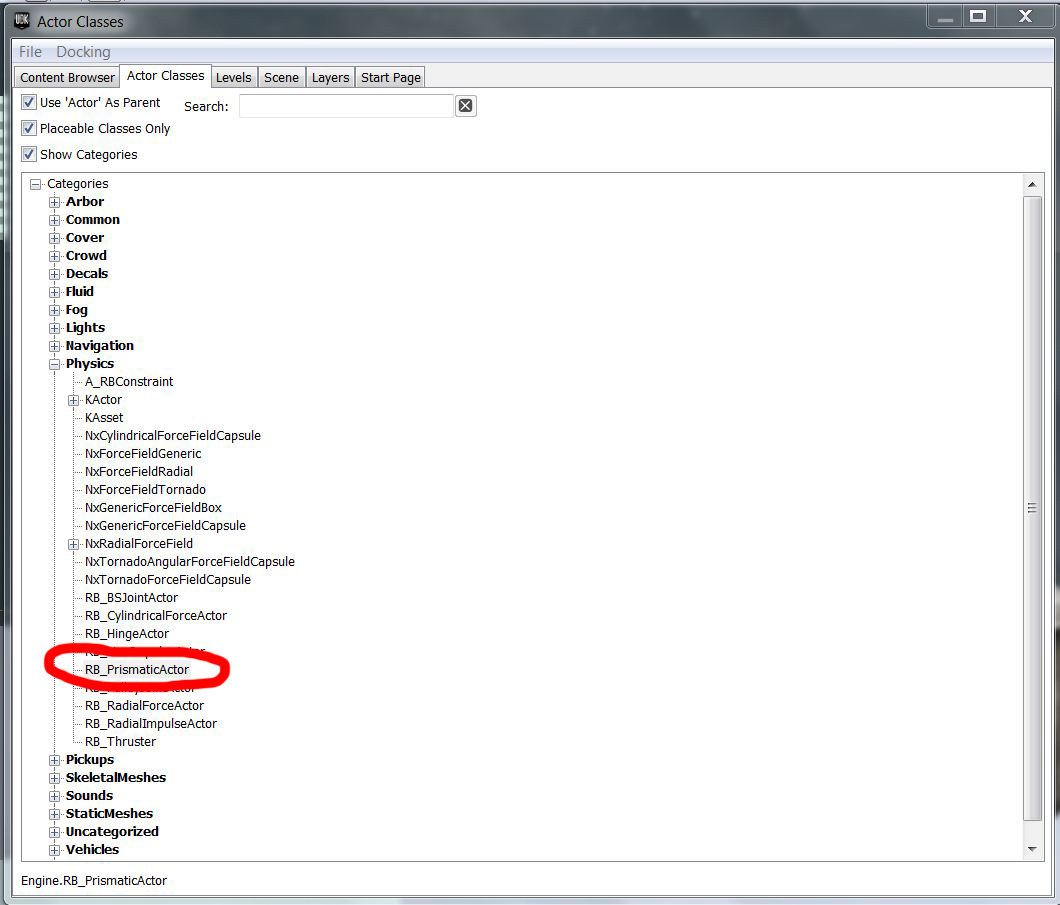
- Go to the content browser and add an RB_PrismaticActor to your level.
- Place it near your mesh.
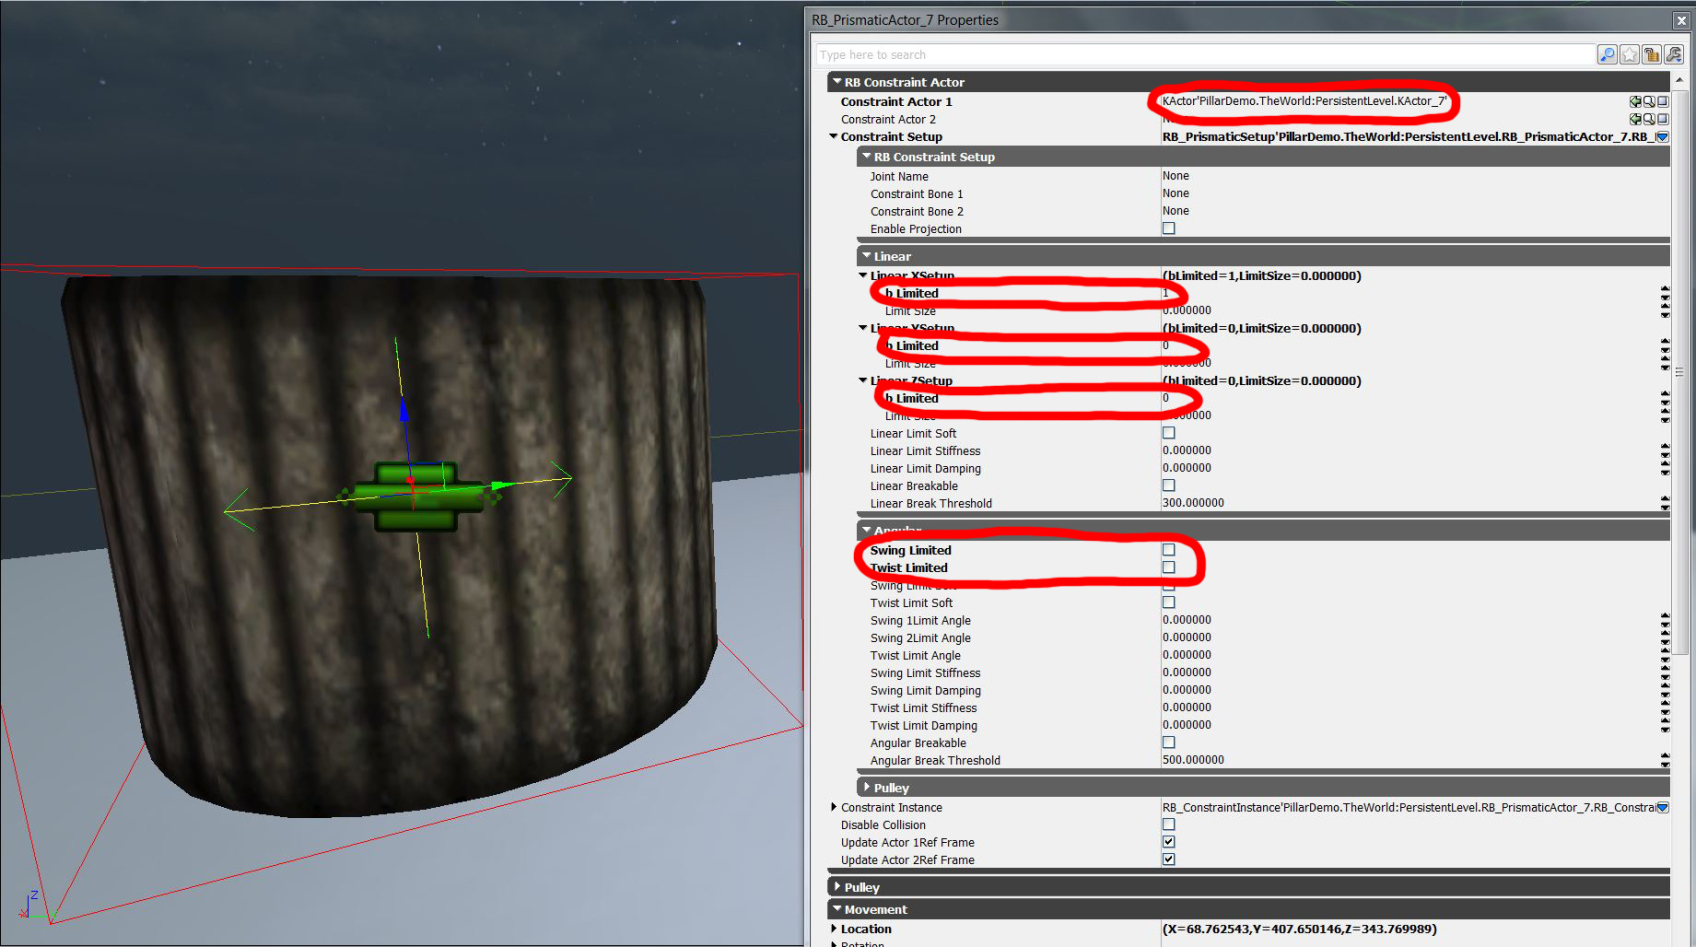
- Go into its properties and constrain it properly.
- In this example, the mesh is constrained to the yz plane, and will not move along the x-axis.
- Also, the mesh will rotate along the x-axis.
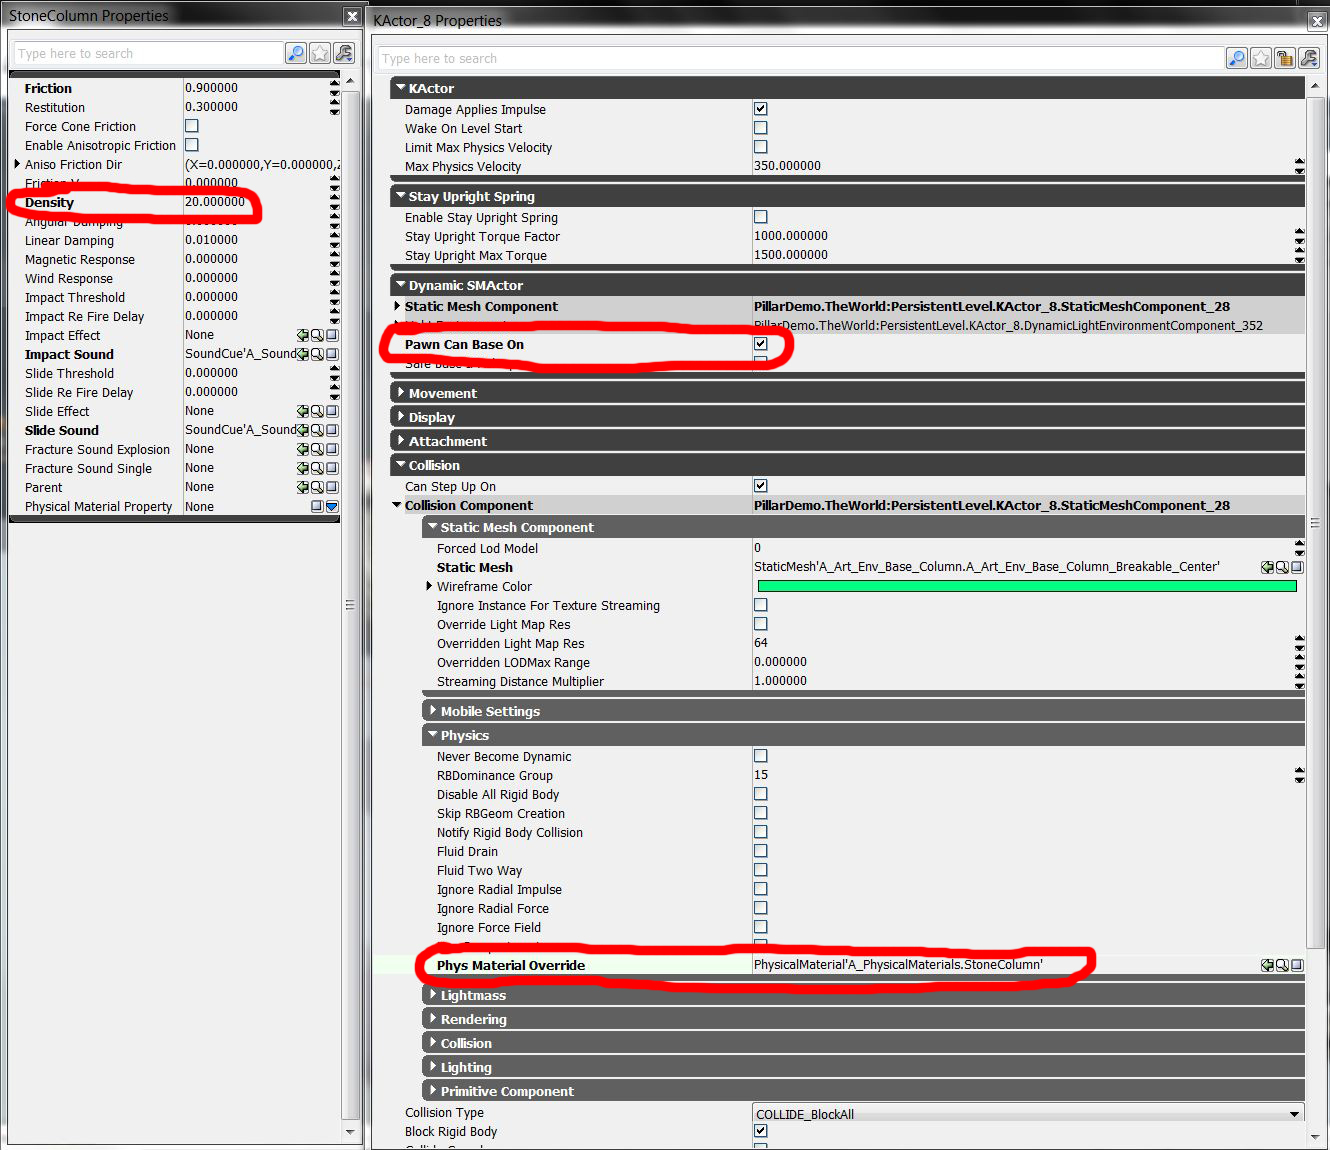
- Go into the mesh's properties.
- Check off "Pawn Can Base On".
- You may want to assign a physical material so you can control it better.
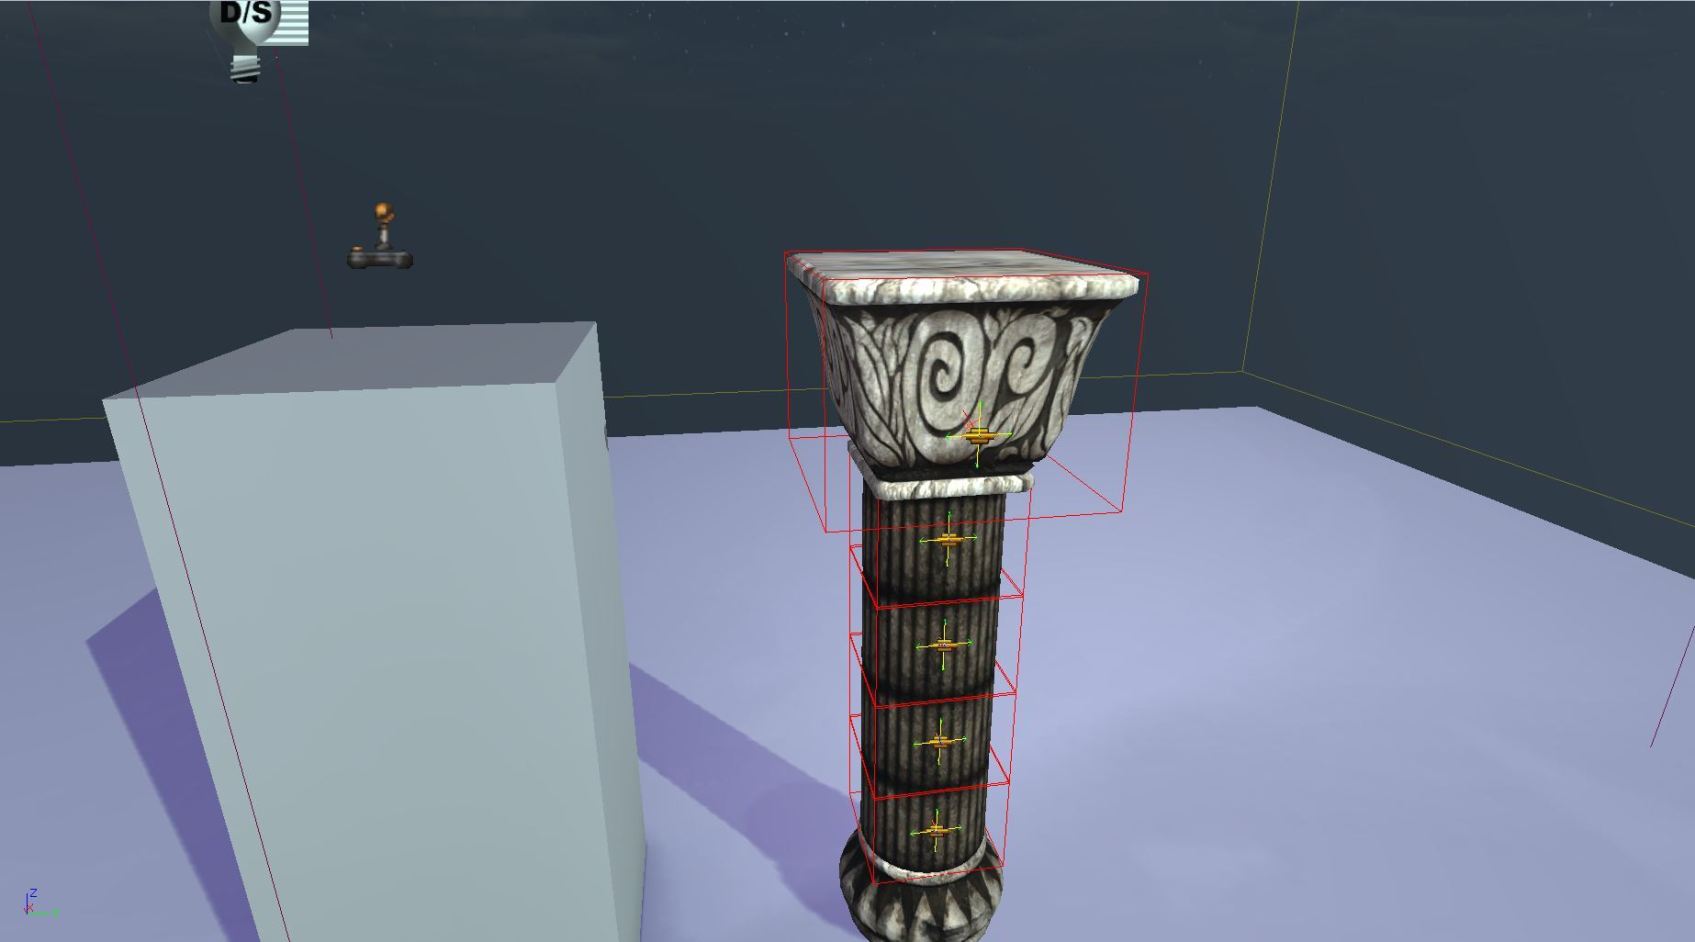
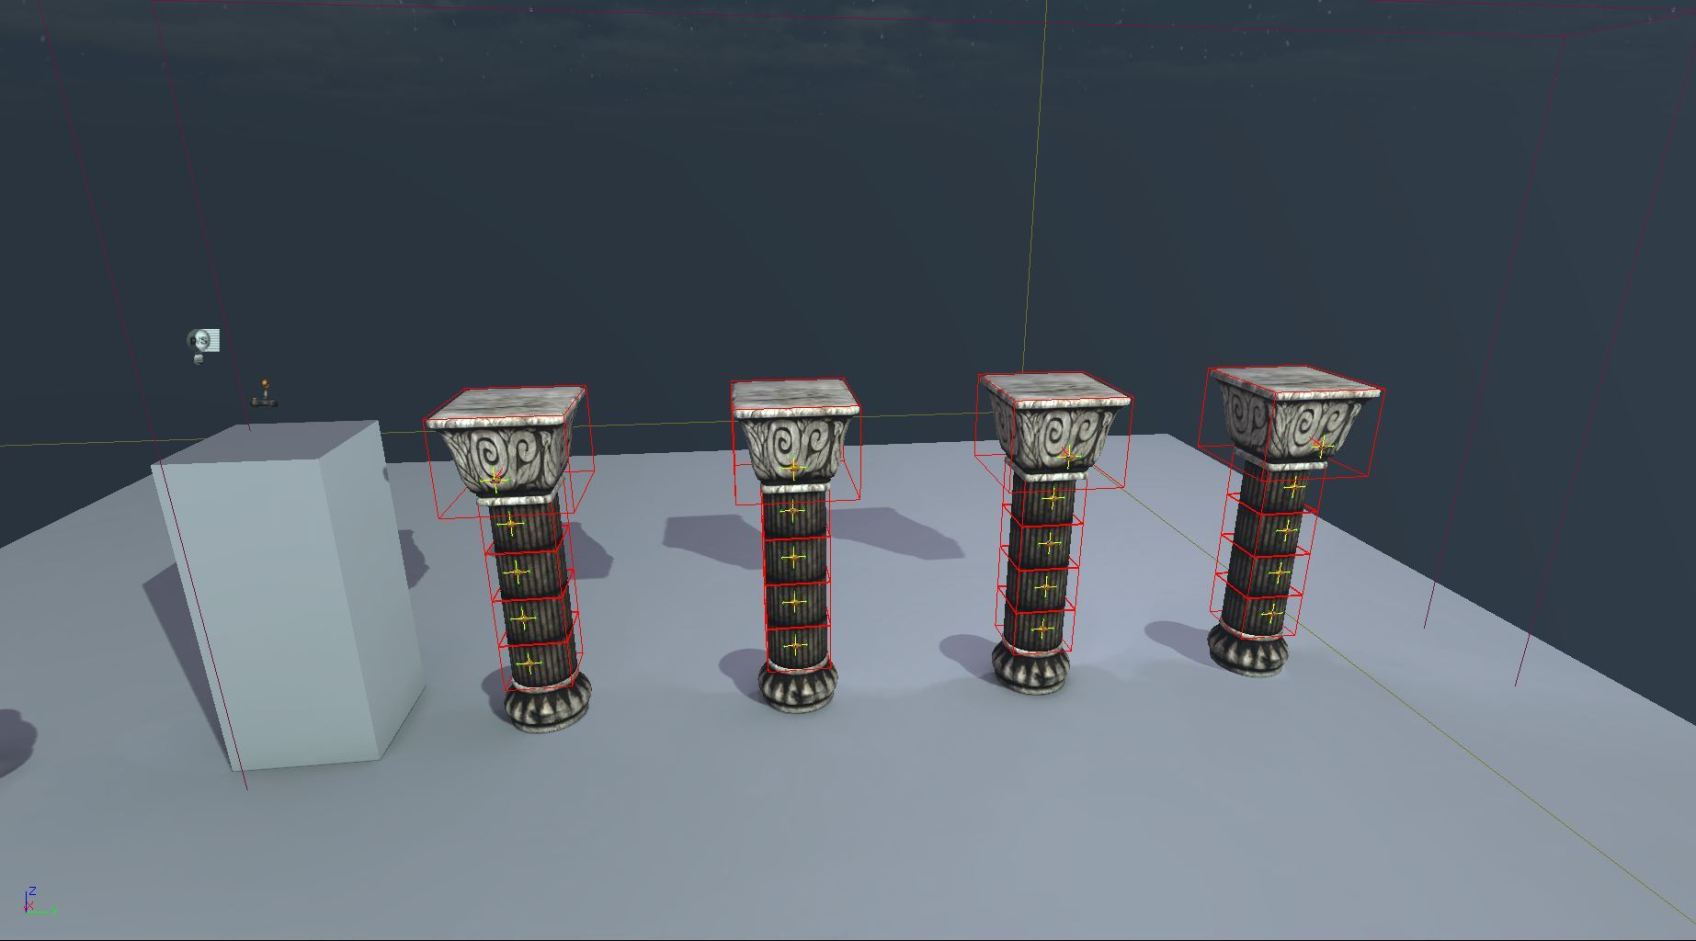
- Everything is set up, so copy/paste the mesh and the constraint until you have a set of pillars.
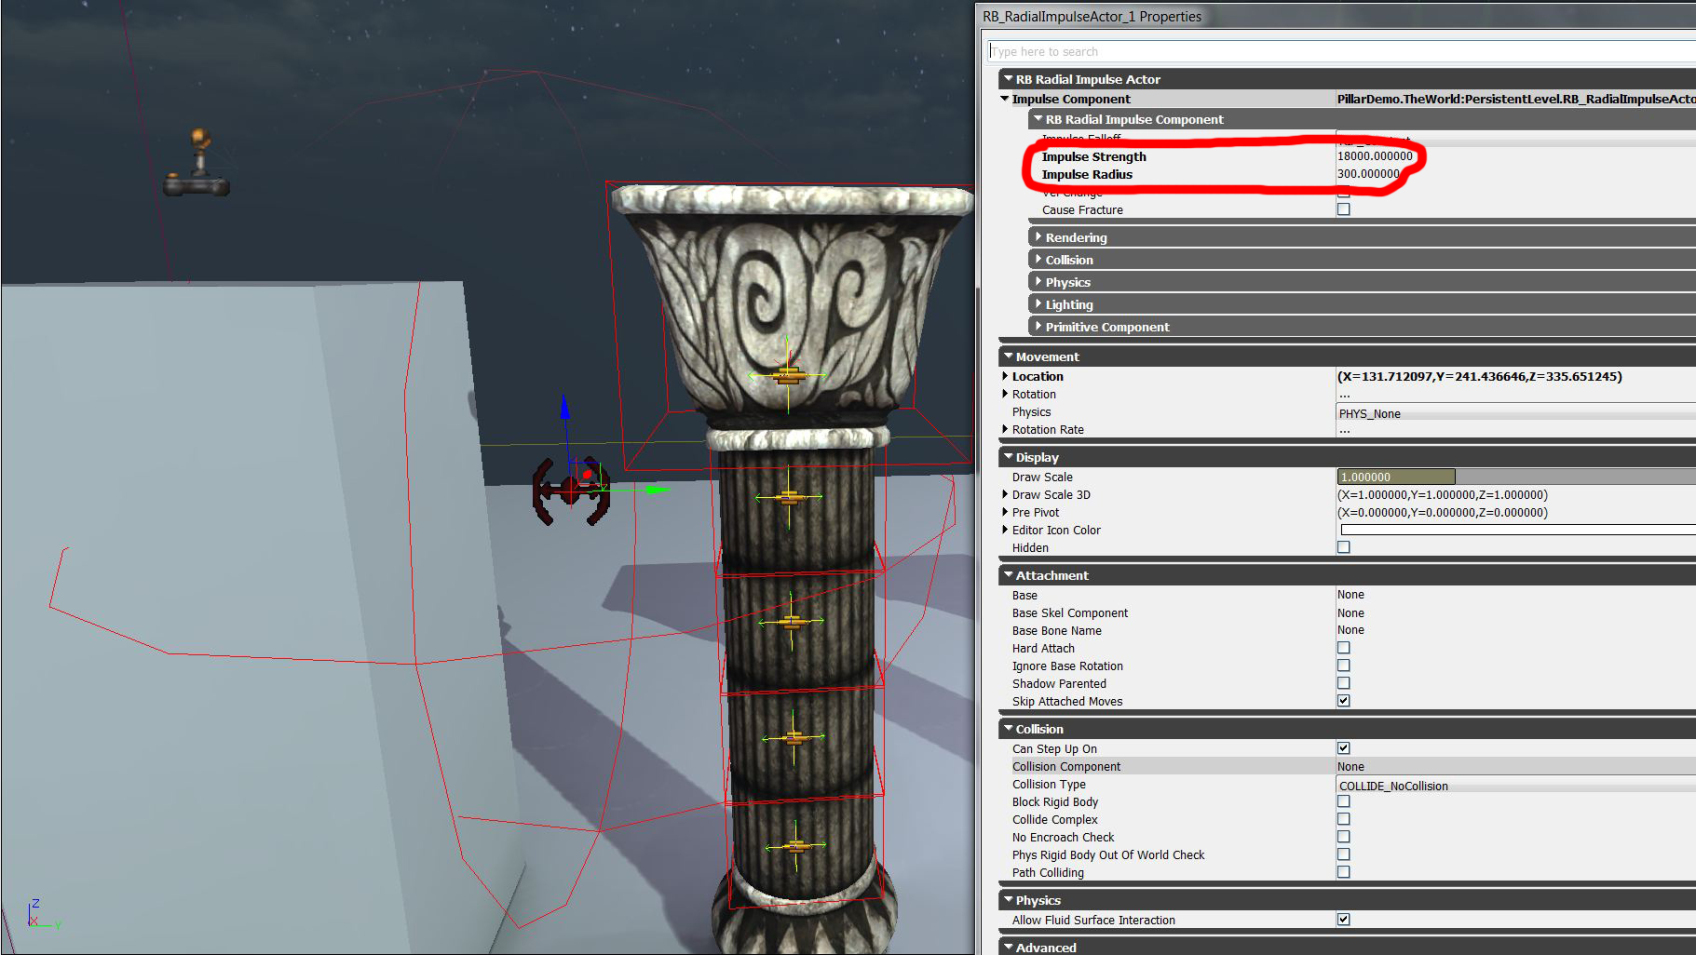
- Drag an RB_RadialImpulseActor into your level.
- This is going to push the end pillar into the next pillar, so position it accordingly.
- Adjust the impulse strength and radius.
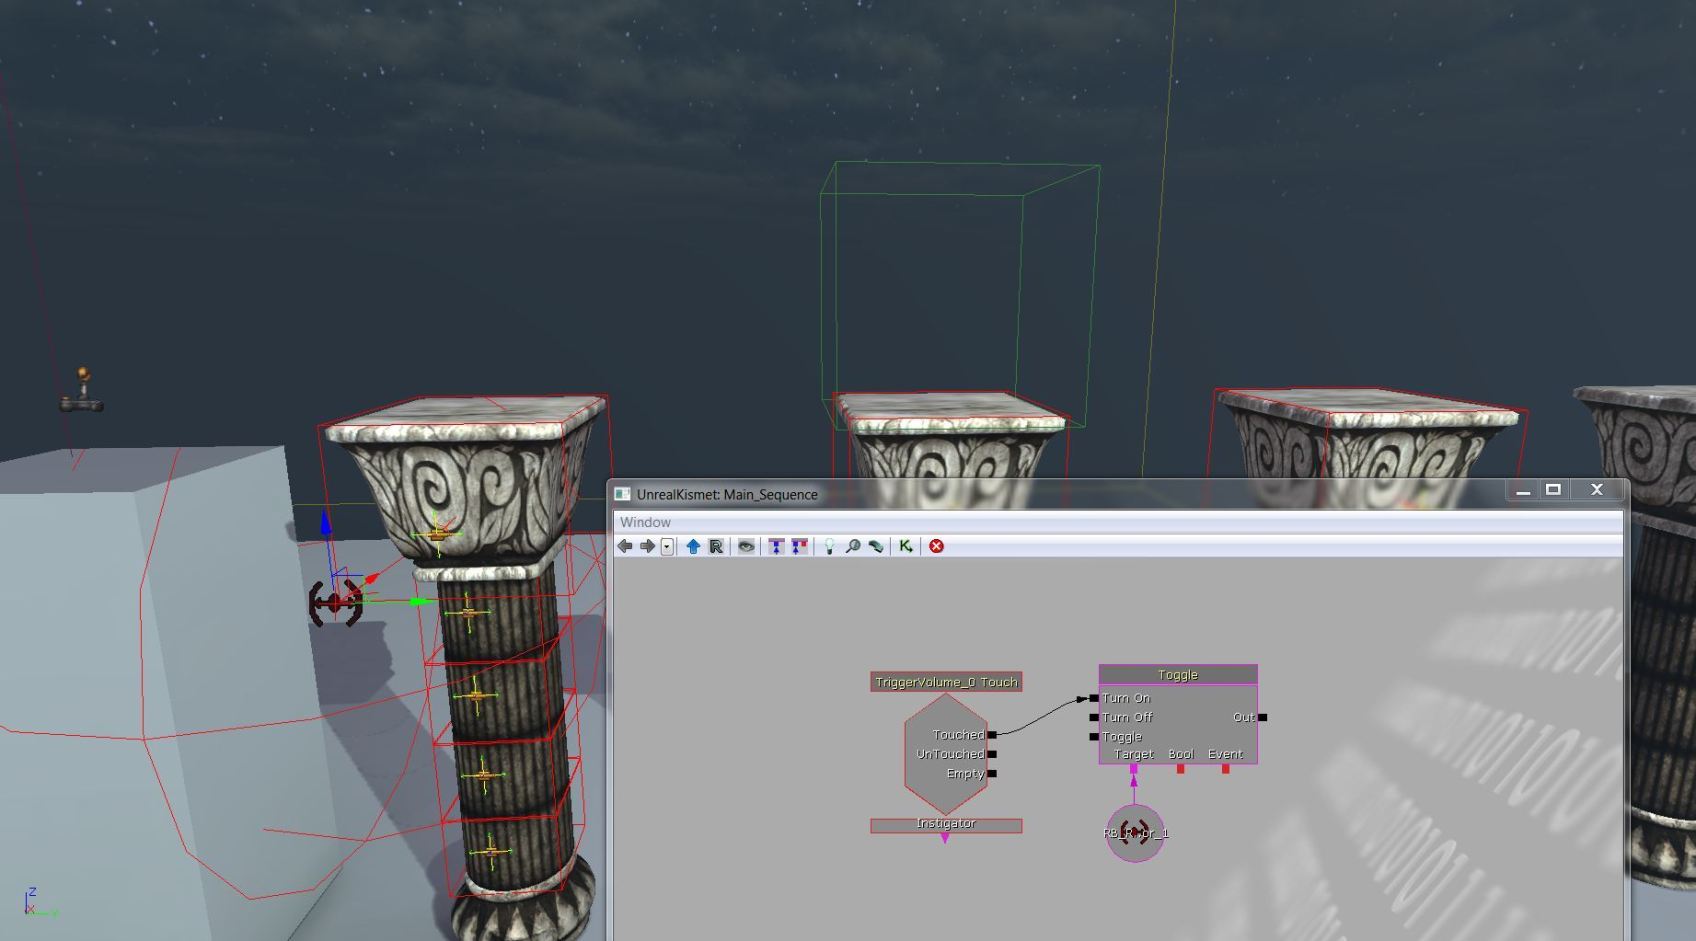
- Create a trigger volume to activate the impulse actor.
- Set up the Kismet.
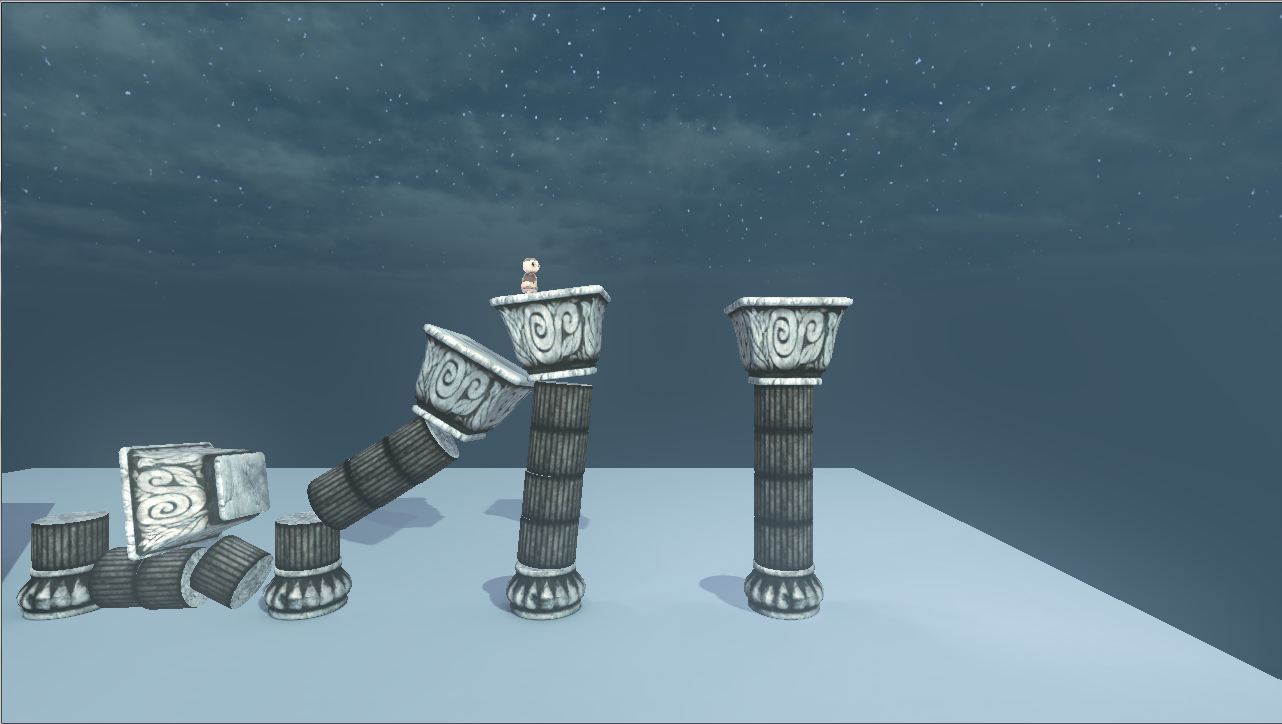
- Rebuild the level and you have a collapsing pillar section!